
One of the most common questions I get about differentiating invariably involves organizing and keeping materials separate for your different tiered groups. So to keep things quick and simple for this post, I wanted to tell you about some of the best tools I have found for differentiating instruction in regards to readiness.
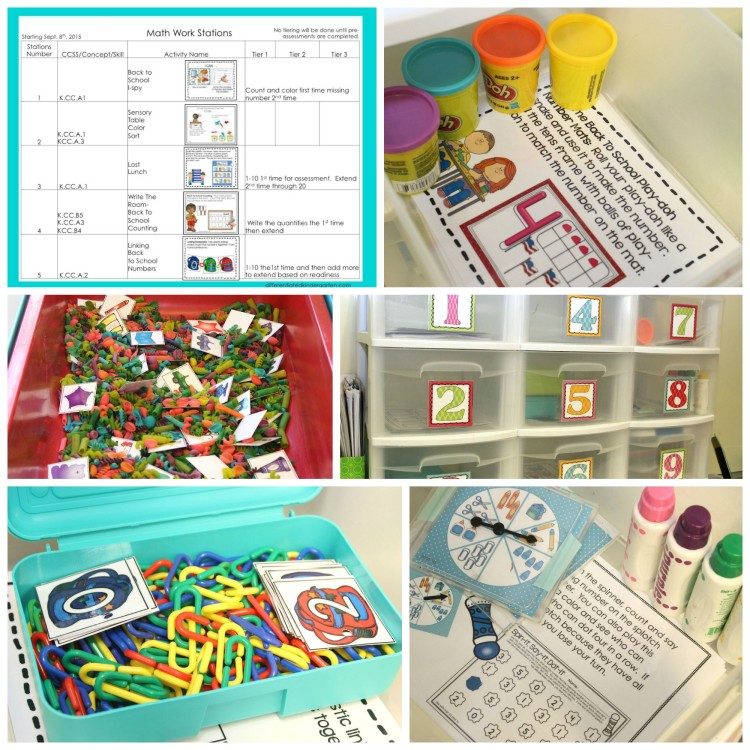
I personally like to organize my reading and math levels by color. Sometimes I have four levels, but most often, I use three. Pink is for students who are working well beyond the standard, orange is for kids who have mastered and are above the standard, green is for students just on level and blue for students who might be below level and need a bit more support. So for instance, as a simple example: if the skill we are addressing in math is fluently adding and subtracting, blue students would be working perhaps JUST on simple addition using manipulatives 0-5, green students might be adding and subtracting 0-5, orange may be just adding and subtracting 0-10 because they can easily master 0-5, and maybe pink would be working on adding 10 more and subtracting 10 less. These are just some random examples, but you’ll get the idea.
First of all, how do students know to which ‘tier color’ they belong?
Please note, this post includes affiliate links.
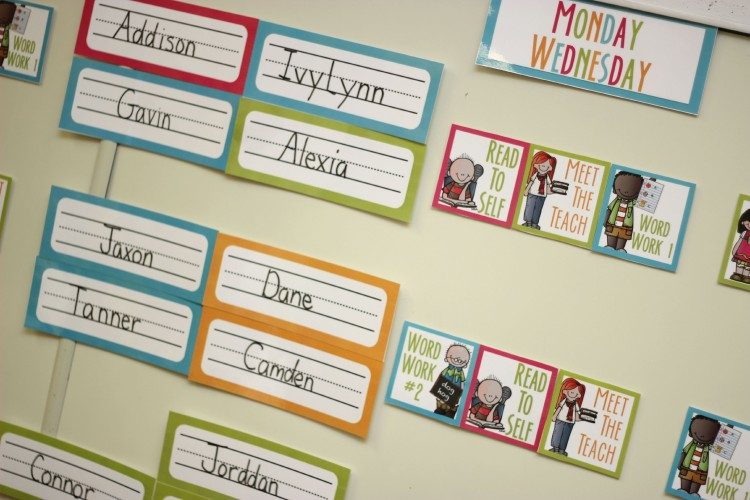
Well since their level of readiness may change from skill to skill, I never have permanent name cards for centers. My name cards are always laminated, and I use dry erase marker to erase the names as needed and move them to a different colored tier. Need a set of name cards for Daily 5?

You can get some free ones HERE. Or if you prefer a smaller set for math stations like the ones in the picture below, you can get those by grabbing them from THIS blog post. Either way, you will need my first three items for differentiating to get your name cards started.
(Just click any of the pictures below to find out where to get these items or to find out more information.)

TIERING STUDENT CENTERS
1. SCOTCH THERMAL LAMINATOR

Here’s a little secret that you need to know. School laminators don’t hold a candle to one of these little laminators. They are a lightweight, work horse.
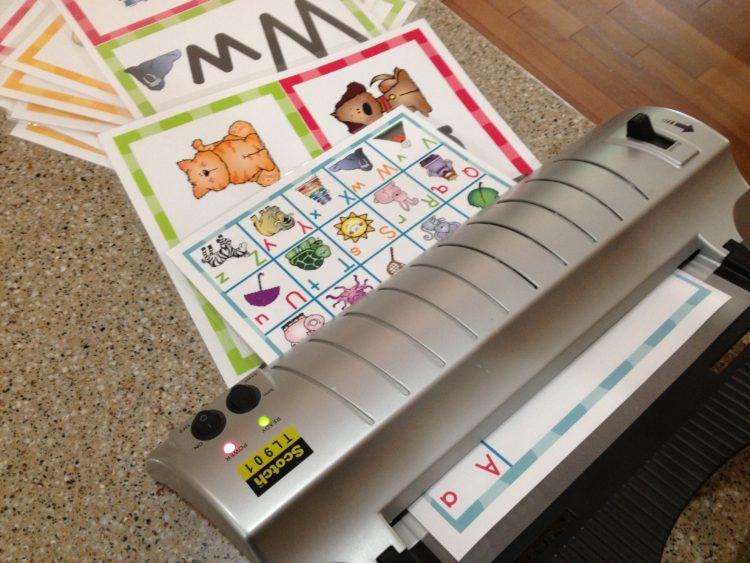
I’ve had mine forever (which is an older model) and love it so much that I have one at home and one at school.
2. LAMINATING SHEETS

You don’t need name brand laminating sheets to have great lamination. Trust me. I use bulk sheets from Amazon and they have never disappointed. They are heavier than traditional school lamination and hold up great.
3. DRY ERASE MARKERS
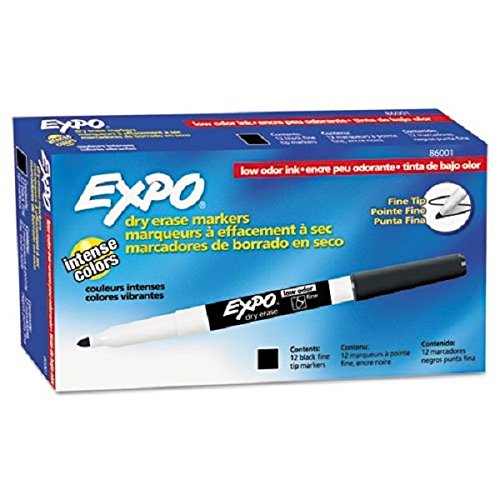
I only use black Expo. Sorry. I am may be a bit of a Dry Erase Marker snob. I don’t like to spend time and frustration on colored dry erase markers that don’t erase from laminate. Other black brands will work, but honestly, if you’re asking I think Expo is the best.
Now that you have your name cards ready to go, you can either use a magnetic white board to display them or a small pocket chart. If you’re using magnetic board, save yourself the hassle and frustration of magnetic tape and go straight for the self-adhesive magnetic buttons. They work TONS better.
ORGANIZING TIERED CENTER MATERIALS
Now that you have your students set up to understand their tiers, how do you organize materials at each station?

When students arrive at a station, they need to be able to quickly identify what materials they will using so they can quickly get to work. That means I needed to find quick and simply storage solutions for holding each tier’s specific work. Depending on the type of activity, I’ve collected a variety of storage options throughout the years, but these are just a few of my favorites.
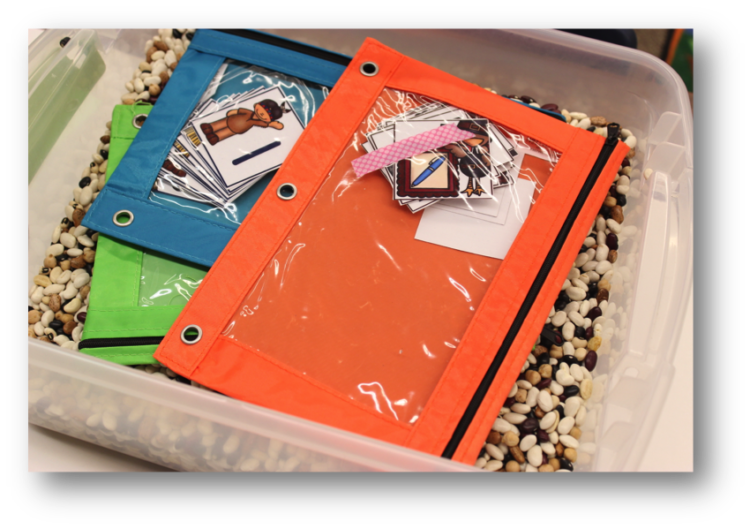
4. POLY ENVELOPES
Poly envelopes like these are the best thing I have found for organizing larger, flat items, papers, or response sheets. They are easy for little fingers to manipulate and keep neat since that have a simple Velcro latch.

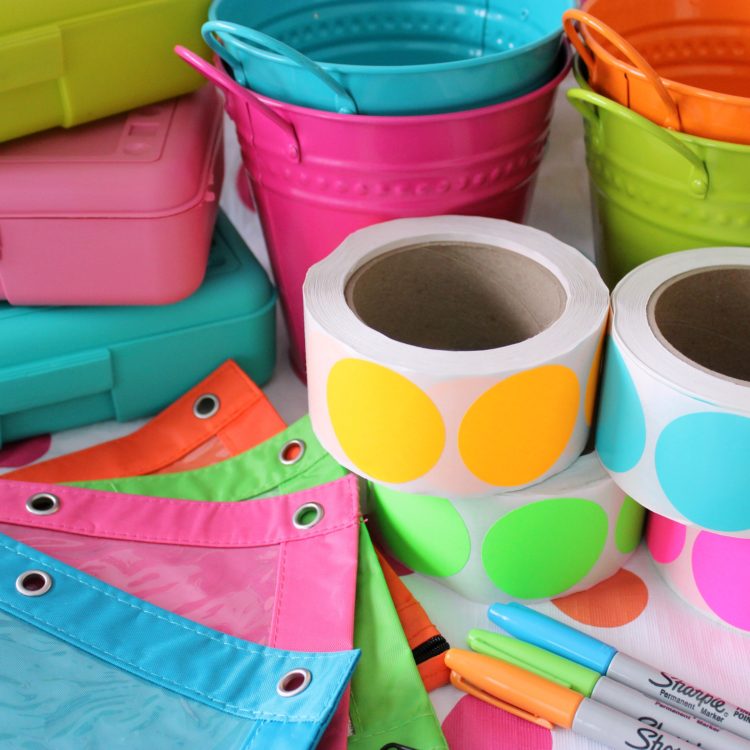
5. COLORED DOT STICKERS
And these Dot Stickers are the easiest way to label the poly envelope (or really any container you chose) by color. They come in many color options, but these are my class colors so I use these. I used to purchase those little circle stickers that are white and color them in with a colored Sharpie to label my envelopes, but these are the BEST and EASIEST option I have found yet.

6. ZIPPERED POUCHES
For smaller game pieces or pieces for my sensory bins, for instance, I like these zippered pencil pouches. Smaller items can lie flat and students can easily distinguish which set of materials they should use. The other materials in the colors that do not apply to them, stay safely and neatly in their pouch.
7. PENCIL BOXES
For small but loose items that might not lie flat, I use colored pencil boxes.
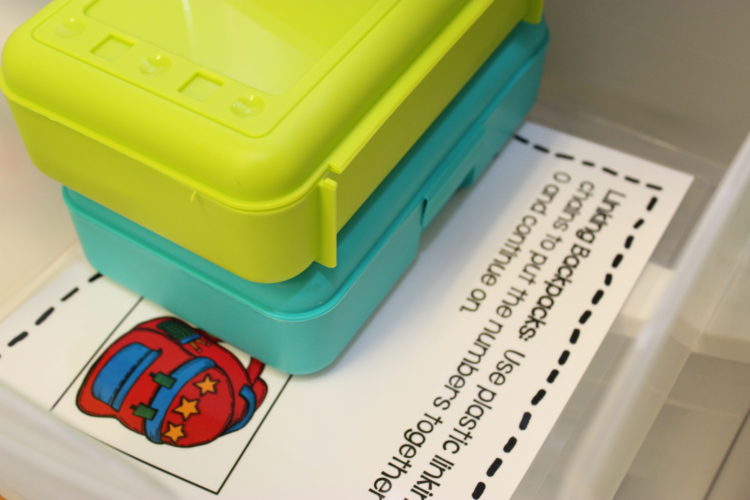
Students grab the box that applies to their tiered color and open it up to find their materials.

8. DECORATIVE COLORED TINS AND CONTAINERS
For games and activities that are a bit larger or bulky, I have a variety of different types of containers, buckets and totes from which to choose. When I find them in my tiered colors, I just snatch them up. I have to admit, I may have a bit of a container obsession though. The fact that I can use them for differentiating justifies it though . . . right?

9. COLORED SHARPIES OR FLARE PENS
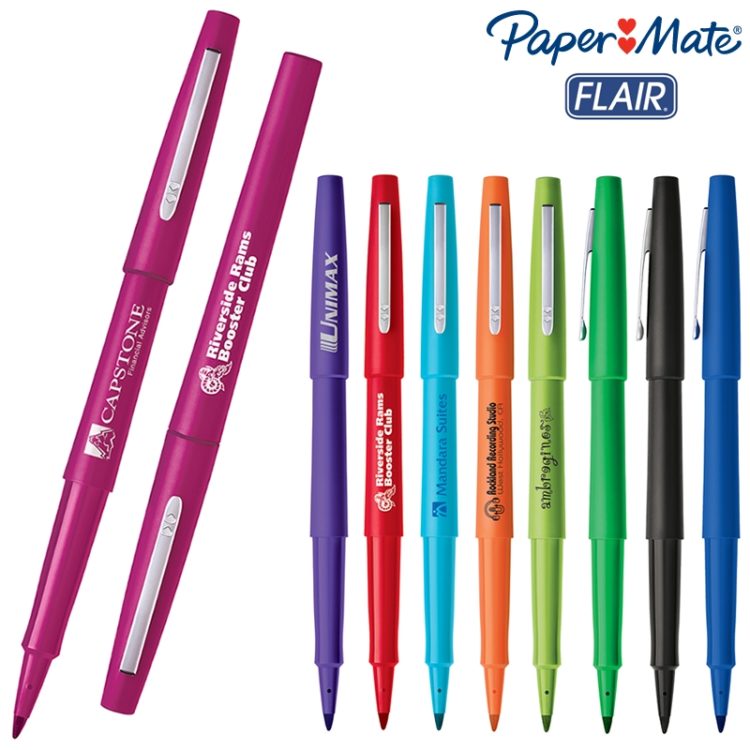
And finally, these Flair Pens are great for when you need to identify a group on the go or when documenting. I often will grab a colored flair pen to keep my notes for each tier clear and organized.
So there you have my favorite tools for tiering my classroom stations. If you have any questions, please feel free to drop me a note. Also, if you’d like to learn more about differentiating Daily 5 in your classroom, I suggest you click on the picture below to check out that blog post.

Or for Differentiated Math Stations, click on the picture here.

So. Any great ideas here. Thank you for sharing them! Question: Where might I find the large dot stickers?
If you click on the picture of the dot stickers it will take you to a link where you can find them.
Marsha
Thank you! First post should have read “So many…” Not “So. Any good ideas…”
Great ideas here. I especially like the idea of coloring white labels with Sharpies, which I never thought of. (Those labels you have are wonderful, but waaayyyy out of my price range!) I’m starting a math workshop model this coming year so I appreciate the tips. I’m also going to check out the other posts you referred to. I love that so much of what you talk about in your blog applies to other grades and not just kinder; I teach second and have been following for a while.
Thanks Terri. I hope that there are other grades that can use these ideas. I would think they are fairly universal
I loved reading this post. I do not do Daily 5, but I do similar Math and Literacy Centers. These organizing ideas will be helpful for me to use. I really liked the idea of using color coded labels on the poly envelopes. I love the poly envelopes for centers. I use the ones from the Dollar Tree and they last all year. Where did you get the teal/pink/lime pencil boxes?
The pencil boxes came from Michael’s last summer.
Marsha
Do you put 4 copies of the games or work boards, or do they all play on one copy?
This is so nice!
My question is how many of these containers do you end up with? Do you switch the materials that are color coded out and bag them up to store for next time or do you really have a set of the pencil boxes, zippers and folders for each activity you have created? Thanks
I see that some of your groups have up to three different colors or tiers, so when it is a group’s turn to rotate to you for guided reading do you have each student reading out of a different level book? (Pre a, A, B) My school just started doing the guided reading by Richardson and we are trying to figure out how to go from having three large groups to five smaller groups.