Daily 5 2nd Edition Chapters 3 and 4. Let’s Do This!
By
Ok, so we are ready to get into the thick of things with Chapter 3 and 4 this week. I hope everyone has their book by now and is ready. But if not, the beauty of Daily 5 2ndEdition is that it is a VERY easy read and you can catch up quickly even if you don’t have your book yet.
If you need a book, click on the link below and it will take you to Amazon’s link.
Chapter 3 gets us started with the the ’10 Steps To Teaching and Learning Independence.’ It’s one of those chapters that if you skip it, you’ll never get your kiddos where you want them to be. In daily 5, front loading, doing the work of modeling and practicing before hand are all so important or you will just never have the success that you need to make it work.
So here’s the 10 Steps broken down.
Step 1: Identify What Is To Be Taught-This is where you start breaking out the I-charts. These are the charts that you will create with your students and display all year long for easy reference. Come up with a good way to display them. I will openly admit that I do not have a good place. They tend to get put aside during the year when I need space for a new word family or something else, but I am working on doing a better job this year. I think I will store the original and be making smaller versions of them by taking pictures and posting them in work areas for reference. That way I have them available and stored if needed, but they are also available in a smaller scale as a visual reminder for those students that need it.
Step 2: Set A Purpose and Create a Sense of Urgency.
This is where you instill the ‘reason’ for we do ‘Read To Self’ or ‘Work on Writing’ or whichever activity you are introducing. My students got used to hearing and saying, ‘we just HAVE to do Daily 5 because reading is our MOST important job in kindergarten.’
Step 3: Record Desired Behaviors On The I Chart. In the past the sisters had us brainstorm with students to come up with these desirable behaviors but quite honestly, that just took way too long and you usually lost most of your kids’ attention while you collected all their suggestions. (And lets face it, you never knew what you’d hear from kindergarteners during this activity.)
Here’s the desired behaviors you want to see during Read To Self (Notice these are behaviors you WANT to see, not behaviors you DO NOT want to see. That’s because many children act upon the last thing they hear. In other wards, if you say, ‘Don’t walk around.’ They hear ‘walk around.’)
Read the whole time
Stay in one spot
Get started right away
Work quietly
Build stamina
As a special note for those of us that are teaching younger children, do not try and introduce these all at one time. Take it slow and make sure they have your attention. When they start losing stamina, move on to something else.
Step 4: Model Most Desirable Behaviors. When you model the behavior that you want to see, it takes that 2 dimensional behavior that you wrote on the chart and makes it 3 dimensional. After you have the desired behavior, always ask your students, ‘ . . . if he/she continues to act this way during Daily 5, will she/he become a better reader?’ And, of course, they will answer ‘Yes!’
Step 5: Model Least-Desirable Behaviors, Then the Most-Desirable Behaviors Again. Now that you’ve demonstrated the behavior you WANT to see, give your student or students who need the most attention, the opportunity to demonstrate undesirable behavior. Ask your students, ‘ . . . if he/she continues with this behavior during read to self, will they become a better reader.’ Of course they will answer, ‘no!’ So immediately after follow up by having that same child demonstrate desirable behavior again. Ask that familiar question, and your students will confirm that if the students continues with the desired behavior, he/she will indeed become a better reader.
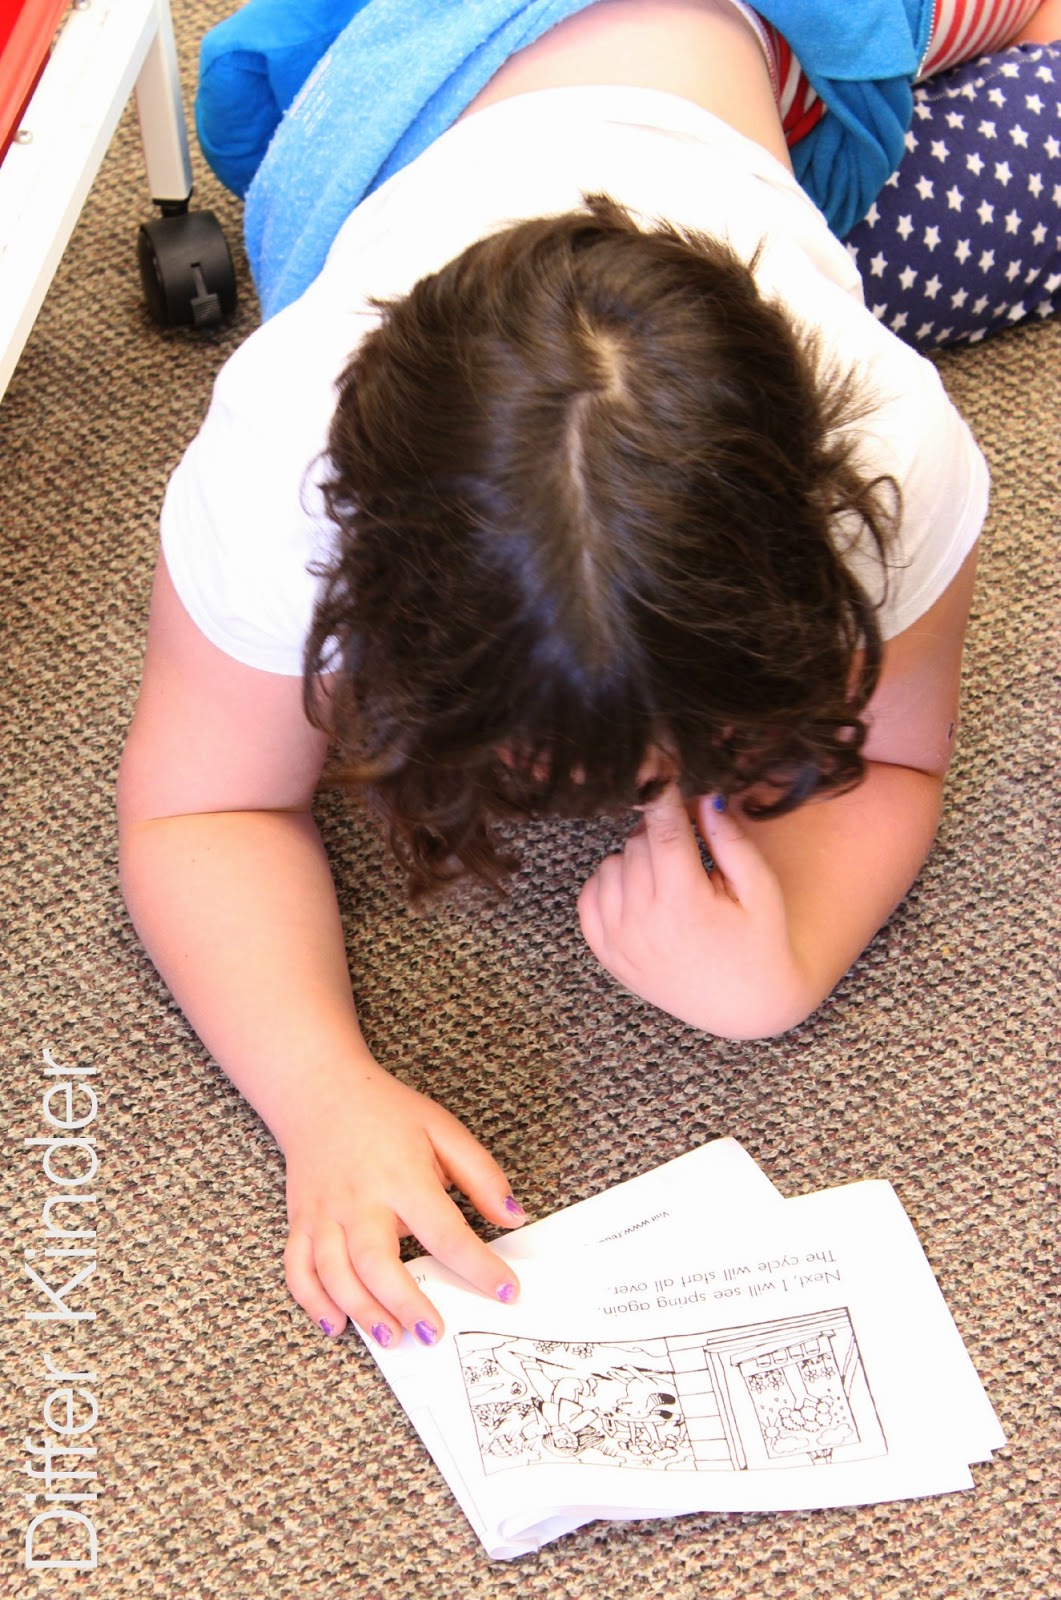
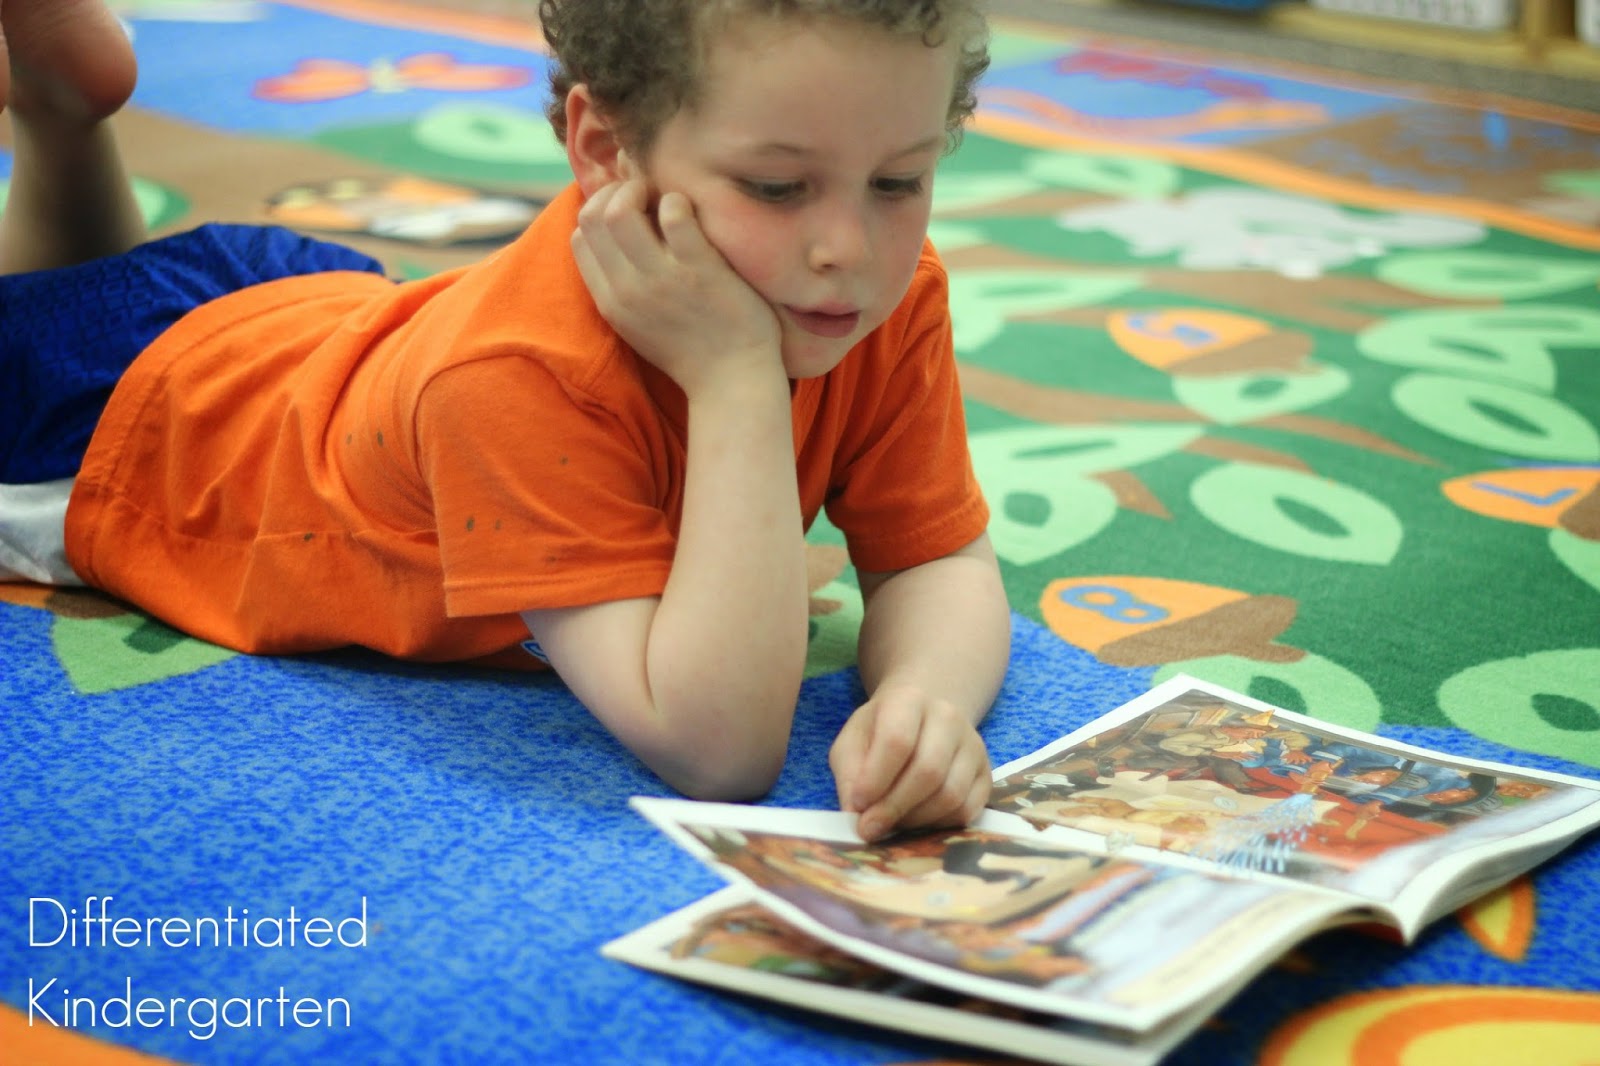
Step 6: Place Students Around The Room. Introduce students to different areas that they might be able to read by placing them in spots around the room. Make sure you choose to seat the children with the least amount of stamina last and give students the opportunity to try out all the different areas for ‘read to self.’ After they have had the chance to read in that spot, take time to reflect. Have students think about whether they can be a ‘successful’ reader in that spot and why or why not.
Step 7: Practice and Build Stamina
Step 8: Stay Out Of The Way
(These two steps take place at the same time.) Your first sessions will not last long. Maybe as many as 3 minutes or as little as a few seconds. You need to watch your ‘barometer’ students to see when they start to lose focus. When they can no longer maintain desired behavior you stop.
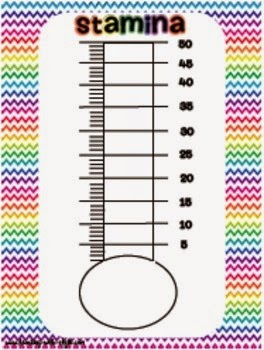
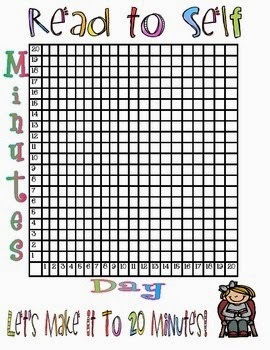
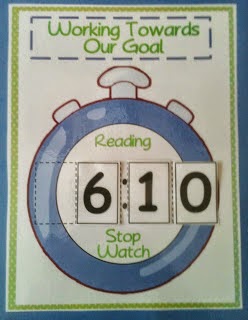
There are lots of ways to visually show your progress towards building stamina. I know that my students in kindergarten especially need this as they don’t always ‘get’ what time really means. Here’s a few examples I found for showing stamina. They are all free so just click on the pictures to get yours and make sure your comment and thank the creators of these great freebies.
Teaching with Style’s Stamina Chart
Teacher Toolkit’s Stamina Chart
And Freebielicious’ very own Mel D from Suesstastic
In the past I have used this as well which you are welcome to grab for free.
While your students are building stamina your job is to stay out of the way. You are not hovering, not walking around to make sure they are doing a good job and telling them ‘nice work reading,’ and not even giving that teacher evil eye to the student who is NOT working as you would like. You won’t be policing your classroom during Daily 5, so you want your students to be able to read to self without your influence now while they practice and build stamina.
Step 9: Use a Quiet Signal To Bring Students Back to the Gathering Place. The philosophy behind this makes perfect sense. The sisters suggest we break the tone of the classroom with a quiet signal because a loud voice or noise could very well trigger the classroom’s noise level to escalate. The quiet signal tells the students to stop their activity, clean up quickly and meet back at the group gathering place.
Step 10: Conduct a Group Check in of ‘How Did It Go?’ Develop a way for students to signal how they did at meeting the expectations of the desired behaviors. Did they:
. . . stay in one spot?
. . . read the whole time?
. . .get started right away?
. . .work quietly?
When I first start out practicing read to self in kindergarten, we do it 2 sometimes 3 times a day. Every class is different, but when my class reaches 15-20 minutes of reading stamina, I know I can start adding the other Daily 5 activities.
Chapter 4 tells us What We Need To Start Daily 6. Most of the things you need you probably already have or can make work.
Chimes or some kind of quiet signal. The sisters follow Grinder’s ‘Above, Pause and Whisper’ technique for transitioning. Signal with a sound above or different than the background noise, pause for students to look up, and then whisper instructions that are just load enough for them to hear so they will tune into what we are saying.
I totally get the idea and philosophy behind this, and I will probably try this again with my new batch of kinders. but in the past I had a student that could not handle a unanticipated disruption in her work. She would act out, become defiant and break down while the rest of the class tried to transition. I needed to find a way to let her successful transition with her class.
One of the things that I found helped her was having a very large timer. Surprisingly, she didn’t sit and watch it the entire time she was at a station, but would periodically glance at the timer to assess her time left. This was enough to calm her and help her transition. As my students become more and more accustomed to the timer, they seldom even look at it anymore. Most of them are seated so they can’t see it, but for those that need it, it has been a blessing and for those that do not need it, they merely respond to it’s bell by quickly cleaning up and transitioning.
Chart rack or interactive whiteboard I have always just had an easel. Nothing real exciting, but it worked great and did the job. This fall, however, I will be sporting a new Interactive Whiteboard. I’m am psyched about having any technology in my technology starved classroom, so I’d love to hear how other D5 teachers use their whiteboard. (Anyone want to share?)
Tools Not Toys The sisters suggest having a set of tools for your barometer children who are having trouble with their stamina. I’m not really sure how these are suppose to help. I wish they would have spent more time on these and showed us. But I love how they also talk about building mini office spaces from masking tape around the room for those barometer children that need to have their space marked off.
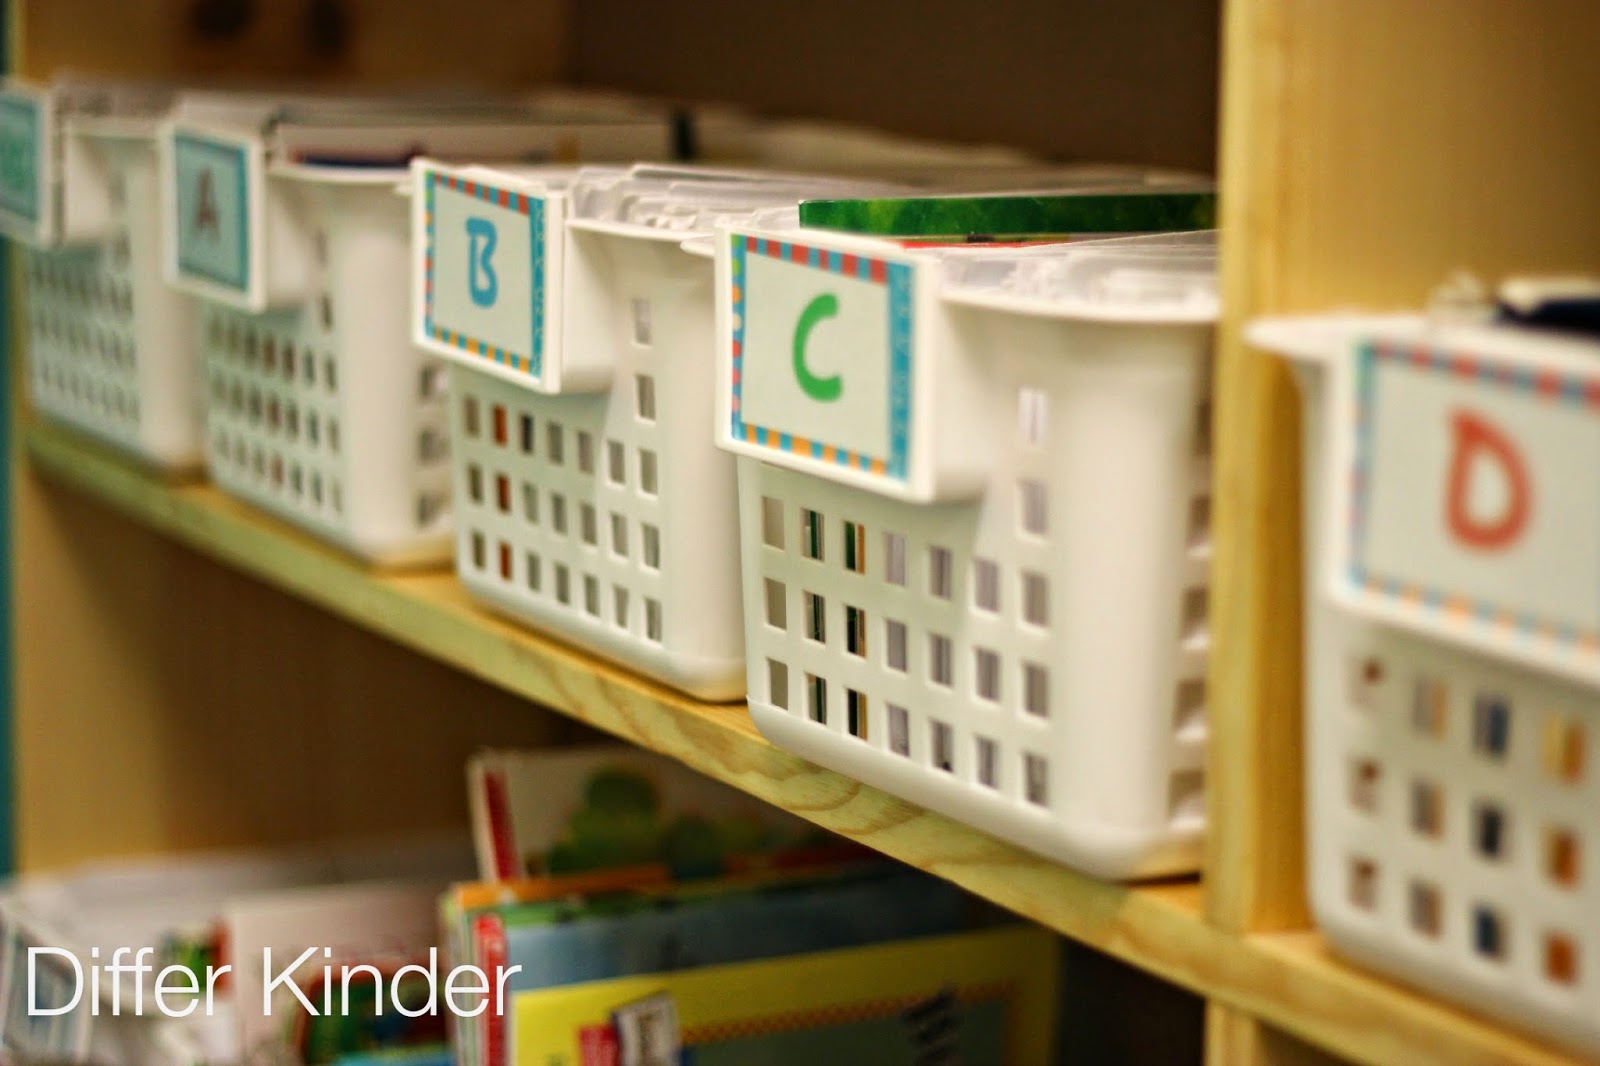
Book Boxes I love mine! They are plastic magazine boxes like the ones below. I infested and spent a little more for them, but they look as good as the day I received them.
I went ahead and put vinyl chalkboard labels on them so that I wouldn’t have to spend my precious time peeling off old labels and putting on new with every child that moved in or out. Vinyl chalkboard is the way to go.
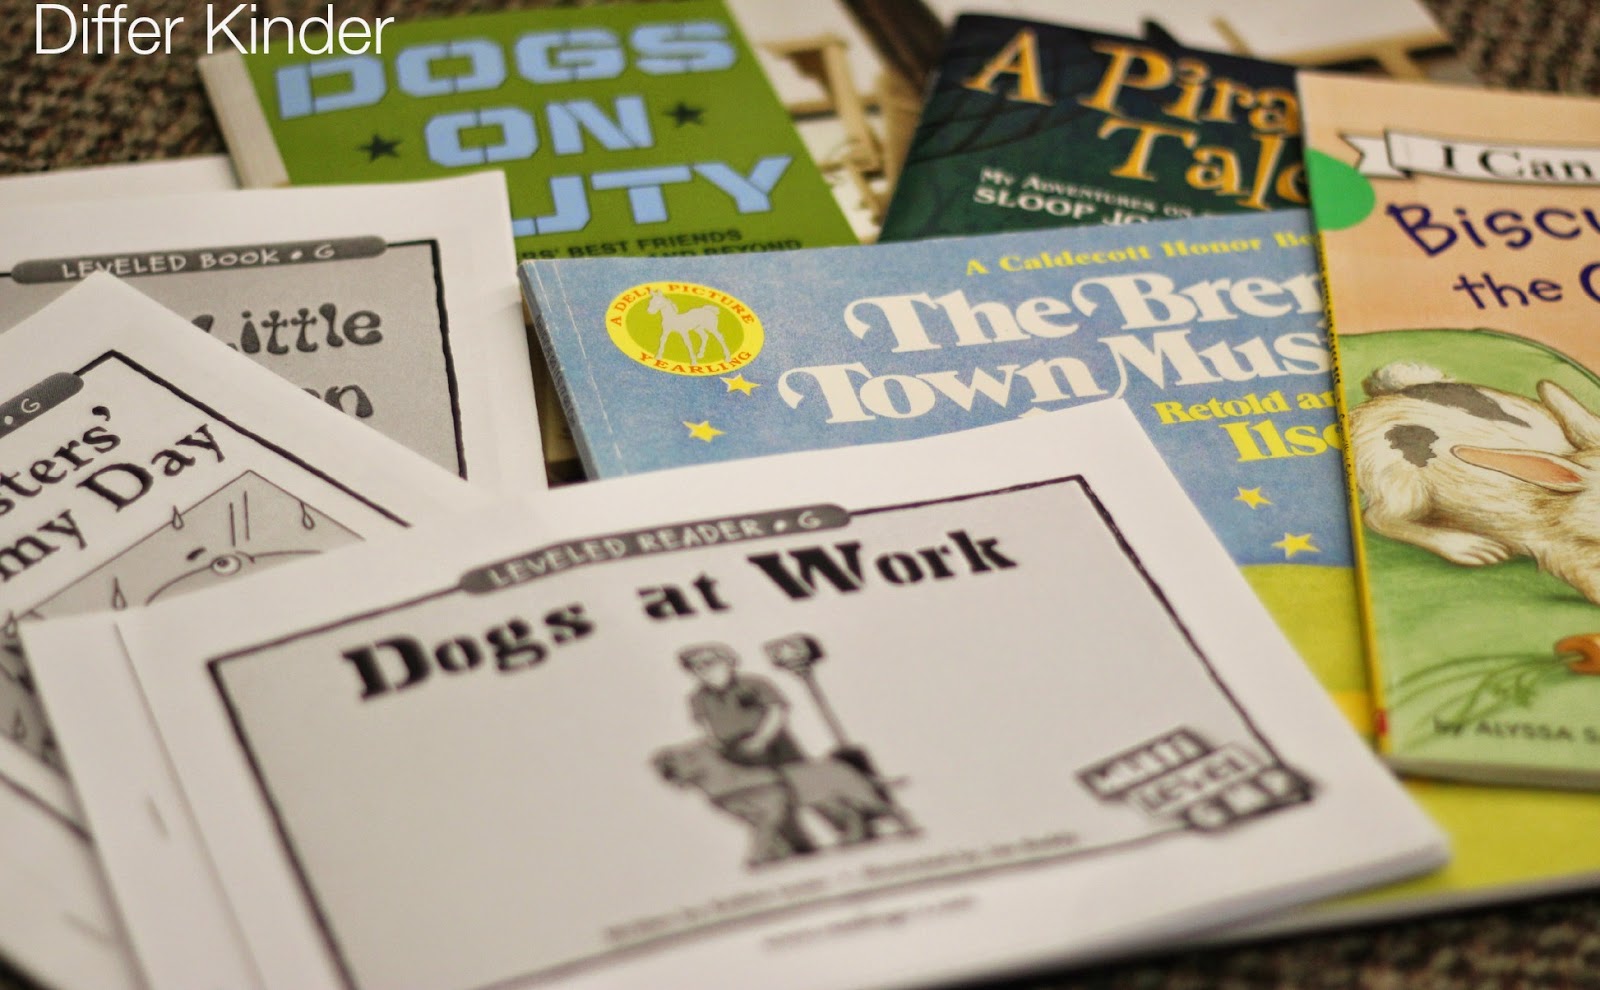
In their boxes my students have leveled readers (4-5) and then between 6 and 8 I-pick books. Other than the first week of school, they choose these books for themselves.
Each leveled reader book is labeled with a letter either on the front or back and stored in my leveled reader boxes.
And the thematic books are all labeled with a number on the back that corresponds to their book box.
This makes it very easy for students to return their own books to the correct boxes independently.
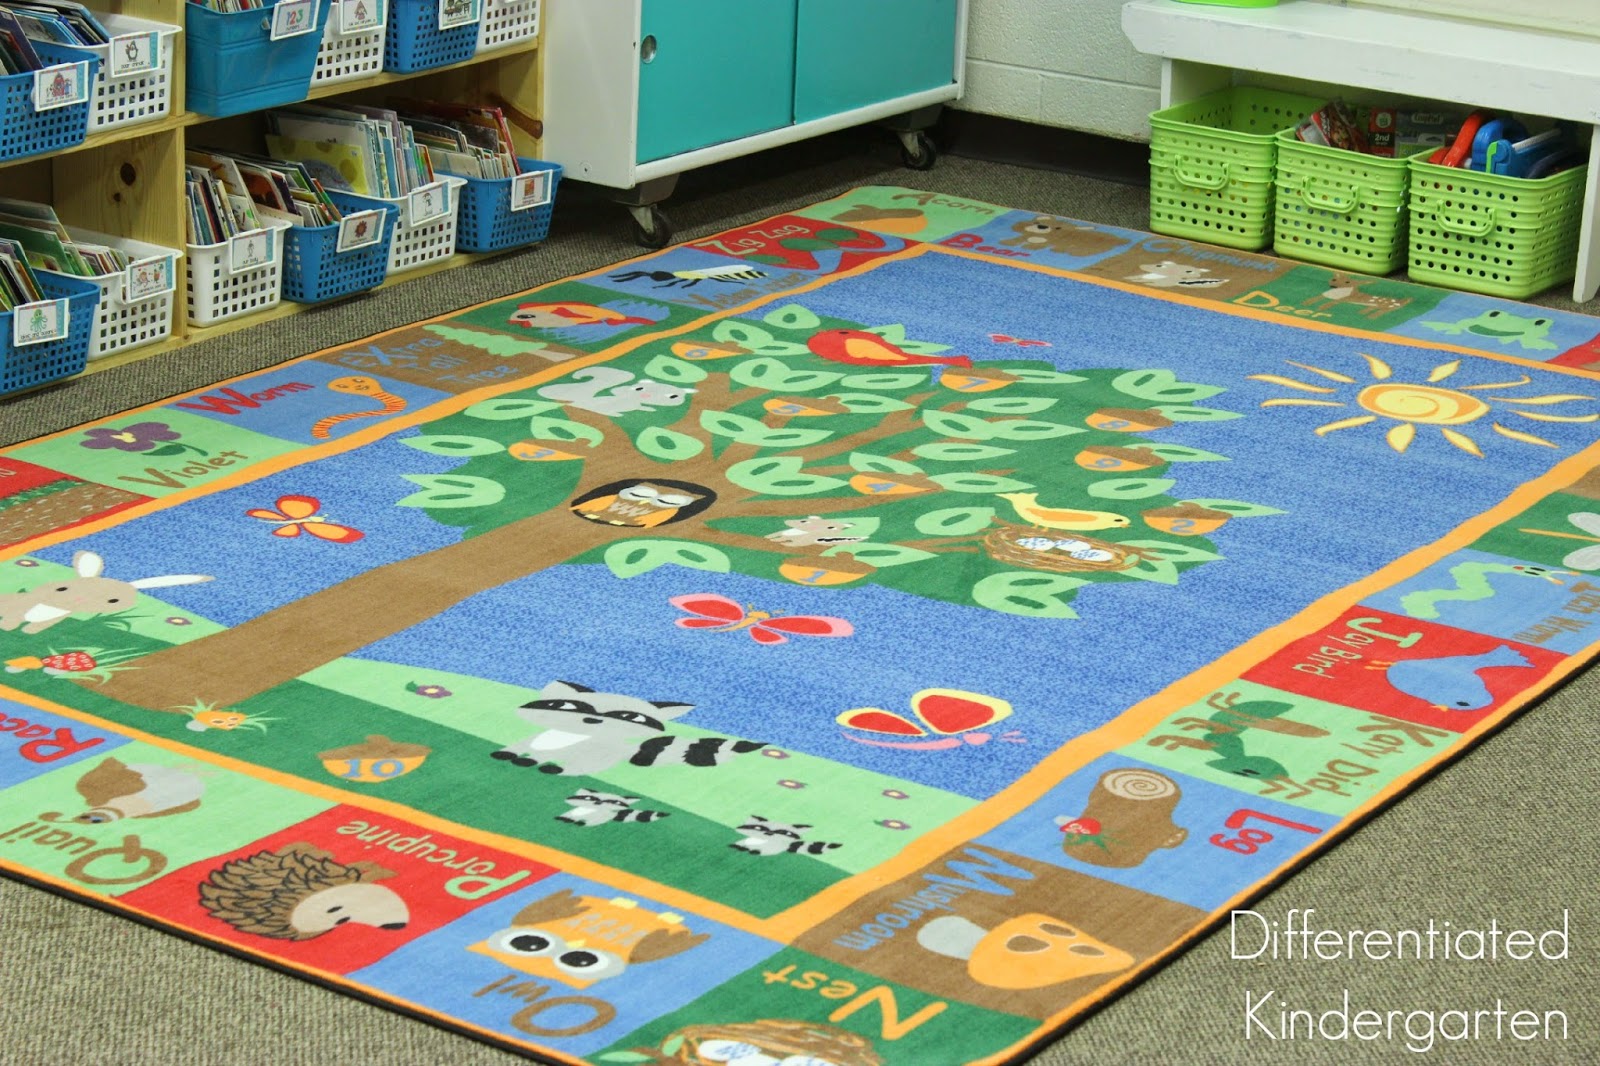
A Gathering Place and Focus Lessons Here is my new gathering place for next year. I love it. This new carpet is going to be a perfect ‘go to’ place for my students to gather.
greater classroom management when your students are close
the ability to use partners for deeper thinking and accountability
the ability to avoid distractions that come from desks
I-Charts I personally don’t get too technical with my I-Charts. I use a big piece of white construction paper. It’s more important that you make them together, keep them visual and refer to them often.
Classroom Design I think that I get better and better with this every year. I don’t have desks in my classroom and there are no assigned seats. There is a variety of different seating options. I have benches, small stools, carpets, different kinds of chairs and several smaller tables where students can choose to work. I would like to be able to add more ‘comfortable’ seating such as pillows and such but quite honestly the thought of lice scares me to death, and I just don’t have a whole bunch of space. If I eliminated my home living/dramatic play area or my sand table, then I could probably add a small couch or some bean bags, but I will go to my kindergarten grave before I give those up. So I try to set at least one goal for my classroom design each year, because, let’s face it, we could spend all our time and money on our classes if we didn’t keep ourselves in check. My goal this year is more indirect lighting. I need to start scrounging the garage sales and Goodwill for lamps by the dozen. I hate my overhead lighting. What’s yours?
Remember, you don’t have to go out and invest a lot of money. Look around and get creative. I find that every year I add a few things here and there to make it better.
Stay tunes for Chapters 5 and 6 next week. And until then, check out all these other great Chapter 3 and 4 posts.
With nearly 20 years of experience as a full-time kindergarten teacher, I’m committed to creating a classroom where learning is joyful, engaging, challenging, and fun. Each day, I work to ensure that my students feel successful through instruction that considers their unique interests, learning profiles, and readiness levels. I believe that students should be excited to come to class and enjoy a myriad of hands-on activities that encourage exploration and discovery.
While I continue to teach full-time, I find so much joy in connecting and building friendships with teachers worldwide. It’s why I started this blog back in 2012. My hope has become a reality as I have been able to forge relationships with teachers, sharing ideas and building friendships beyond my little neck of the woods through professional development sessions and this blog.
So by all means, take some time to look around and explore A Differentiated Kindergarten. Gather some new ideas, fun tips, and most importantly, don’t forget to reach out and say, ‘Hi!’
Leave a Reply