Sensory Tubs In Kindergarten
Sensory activities include any activity that stimulates a child’s senses: touch, smell, taste, movement, balance, sight and hearing. Sensory activities facilitate exploration and naturally encourage children to use scientific processes while they play, create, investigate and explore. But activities found in Sensory Tubs are also perfect for practicing essential skills. Let me show you what I mean.
Where Have All The Sensory Tubs Gone?
I recently conducted a poll on Facebook, specifically targeting kindergarten teachers, to determine how many still use sensory tables or other forms of sensory play in their classrooms. Unfortunately, I was disappointed to learn that many teachers have been instructed by their administration to remove sensory play from their curriculum due to lack of time, space, and perceived lack of academic rigor. As a result, I am determined to save our sensory tables and show folks how Sensory Tubs are perfection for mastering essentials skills.

Why Sensory Tub Activities Are So Important
I’m here to plead with teachers, administrators, and anyone who will listen to . . . “please do not neglect your sensory tables.” This is a serious plea. Hear me out before you abandon those lovely tables full of gloriously colorful, squishy, scratchy, soft, hard, pointy, smooth, bumpy, and smelly materials. You know I will need to talk to you a bit about how sensory tables allow you to differentiate for your class. I have to because here’s the thing, sensory work is not only academic, but it also addresses a student’s learning profile and interests! ( . . . and when you’re really good . . . you can meet their level of readiness too.)


Using Sensory Tubs for Essential Skills in the Classroom


I use fall-colored rice for another sensory tub around the same time of the year for sorting syllables. And this time, I added some fine motor work by having students pin their sorted cards under the correct number of syllables. It just adds a little bit of fun and interest to keep them engaged. (RF.K.2b)


I often use whatever is available and on hand when the need arises. When I was working with my Word Family sorts this fall, I wanted to spice things up a bit, so I grabbed a bucket of acorns for my guided reading group to dig through and sort word families. (RF.K.2.c)

During our study of polar animals, these little guys were in our table with some tinsel, fake snow, and Styrofoam. Students retold facts they learned about polar animals through retelling. It was one of the most favorite sensory stations all year. (SL.K.2, SL.K.4, SL.K.6)

Getting Started
Sensory Tubs, Tables and Bins


What To Put In Your Sensory Tub

I actually keep a list of ideas and items for each month of the year in my planning binder. They’re part of my Getting Started with Sensory Table Activities Pack and will be included in each new monthly Sensory Table pack as well.

I like to use items that will last a couple of years. I have my kids wash their hands before and after they use the table, so in my mind, there aren’t as many germs (right?). In any case, colored pasta is always a good way to start the year because it is large, and with it, you can easily teach clean-up procedures. And the color . . . I love using neon-colored food coloring for these because it turns out so pretty.

Rice is also a good material to use. In the winter months, just white is just fine, but of course, dying it makes it spectacular.

Green for St. Patrick’s Day with discarded gold carnival tokens (I printed real and nonsense words on them.) Who doesn’t like searching for gold?

Natural items are fun and cheap. I can usually wrangle a couple of boys to collect acorns each year for me, but you can do almost anything you can find outside.

Colored sand makes things POP!

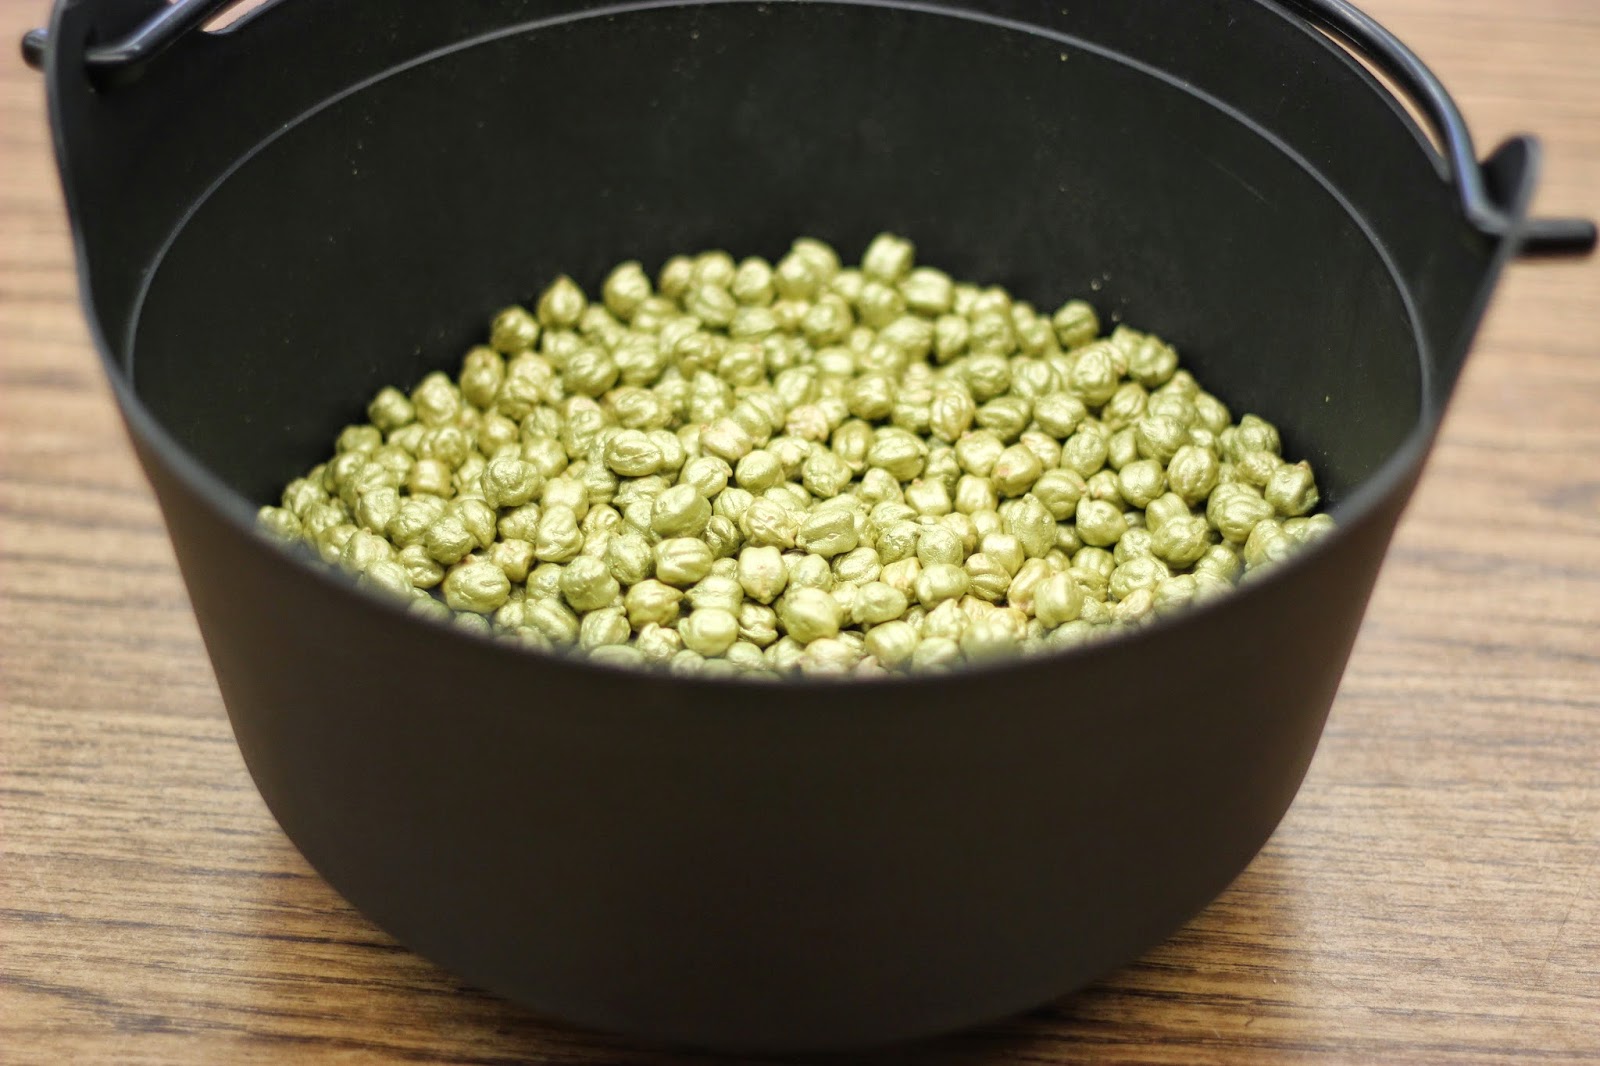
How about some garbanzo beans painted gold, as in leprechaun’s gold, for St. Patrick’s Day? And hey, a pot for your gold is the perfect container for some St. Patrick’s Day sensory fun.
Keeping Sensory Activities Organized
There are a couple of tips I’ve picked up from using sensory tables over the years that will help you stay organized. First, I like to keep all the items a student needs close at hand. Under my table, you’ll find a small drawer system, my extra sensory tote, and other materials I may use for that particular set of materials. I change things out as the contents of the table change. You’ll also notice I have some command hooks hanging from the sides.

I do that so that when and if there are response sheets (I like to laminate mine when I offer them.) that go along with the activity, students can have a place for their response sheets without putting the clipboard IN the table.

I keep my response sheets and instructional/I Can cards in the top drawer of my container. If they are differentiated, three different envelopes will have coordinating colored dots. I also have clean-up materials (Don’t you love my Dollar Tree dustpan and broom?), various containers for sorting (I’ll show you how those work in a minute, and things like scissors, hole punches, or any other materials that correspond with the tasks cards for the materials that are in the table.

I often allow my students to choose how they want to sort their items, either in buckets (Stick a little velcro on the back of the cards and on the bucket for quick changeover of sorting labels.) this sorting tray (Dollar Tree . . . again!) or from a rope with clothes pins. Everyone loves a little variety.


Or if there is a response sheet, it looks like this:

But I also have modeled the activity prior. When students complete the activity, they have a set of task cards that I have chosen for them to use and that make sense to use with the materials in the table. Students can look through the task cards and choose an activity.

It might be sorting, counting, cutting, weighing, measuring . . . but the part they like is THEY get to choose, and I don’t have to worry about them misusing the materials or doing ‘nothing.’

The task cards are all aligned or address a specific skill. So when your administrator walks in and ask what on earth your students are doing at a sensory table, you have the standard right there to show them.
Getting Students Started and Expectations
As with anything, this is a station you need to model, demonstrate expectations, make the expectations visual, follow through, and establish a routine. It will take some students no time at all. They will catch on the first time. There may be a few that will have to have more practice than once. They must be excused from the table if they can’t remember how to use it. It doesn’t take too many times of being excused from the table before those students figure out what they need to do.

I also have a set of procedure and expectation cards that I like my students to review before they start at the table. It provides some visual reminders.
I also think that when you can build on familiar activities, it makes returning to the table and the tasks easier. So even though the table materials may change, students still understand the activities and processes for completing activities. The skills may evolve over time, but the content’s novelty will keep them engaged and motivated to ‘play.’


Share This:

Marsha Moffit McGuire
Short little bio goes here. Short, sweet, and lets visitors know about your experience, expertise, etc.


Leave a Reply