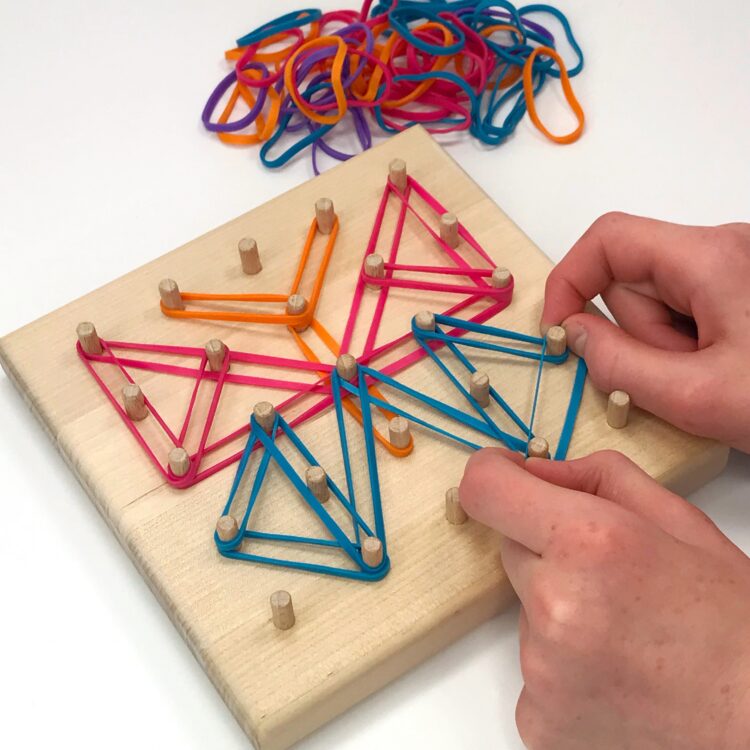
All things fine motor–all the time! It’s kind of my motto these days in kindergarten. As we see the continuing trend of students entering kindergarten with little, if any, hand strength, providing meaningful and engaging fine motor experiences and activities is a MUST. Geoboards can help.
Geoboards are just another opportunity to offer some excellent fine motor and spatial awareness activities . . . sorting and working with those little rubber bands is a task in and of itself.
But then add the actual manipulation of rubber bands on the board and watch out–you have yourself a fabulous fine motor activity. If you’d like to try it for free, scroll down to the bottom of this post.
CHOOSING A BOARD
PLASTIC TWO-SIDED COLORED BOARDS
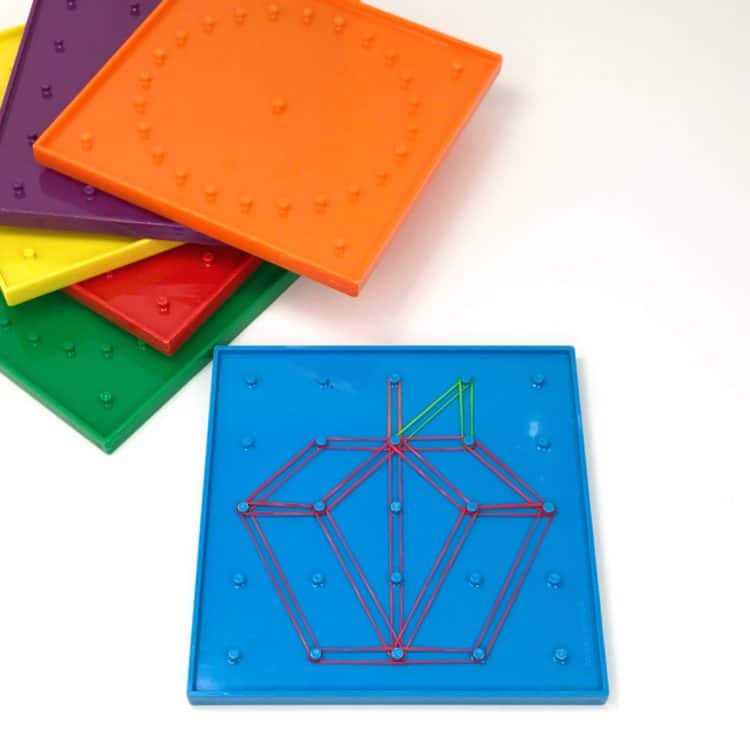
Geoboards come in a variety of types and materials. The most common are the ones most of us have inherited when we first started teaching . . . plastic and brightly colored with a grid design on one side and circle design on the other.
CLEAR ONE-SIDED, LABELED BOARDS
This size also comes in a transparent version as well. These are especially good and preferable when I have students producing letters or numbers and they need a little extra support. They can simply just place the geoboard over the top of the activity mat and see where they need to put the rubber bands.
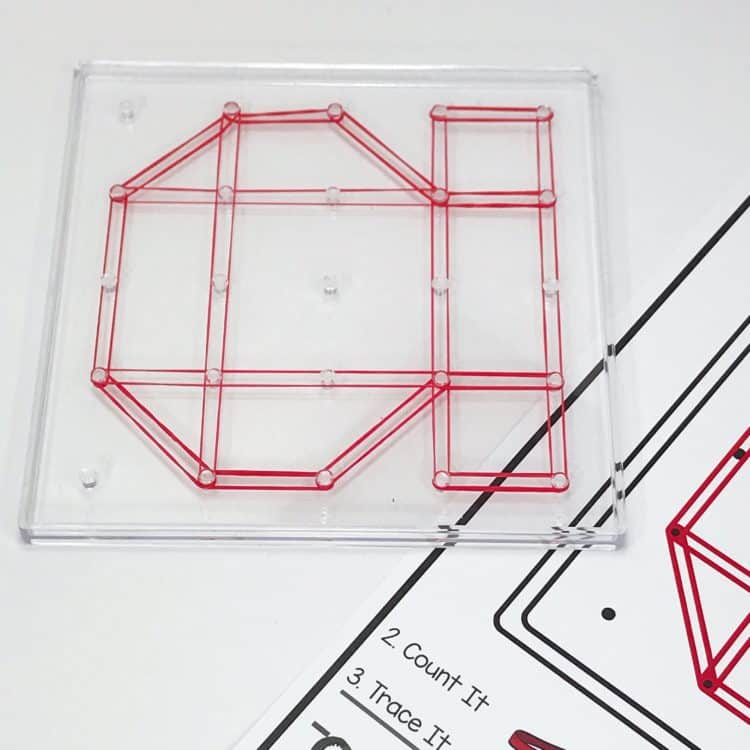
The other thing I like about these are the letter and number grid labels. It’s just another way that you can support students that might not be able to visualize the pictures, letters, or shapes you want them to make. So you could, for instance, say ” . . . look you missed a part . . . try connecting a band from C to L . . .’
If you’d like to learn more about these click HERE.
WOODEN BOARDS
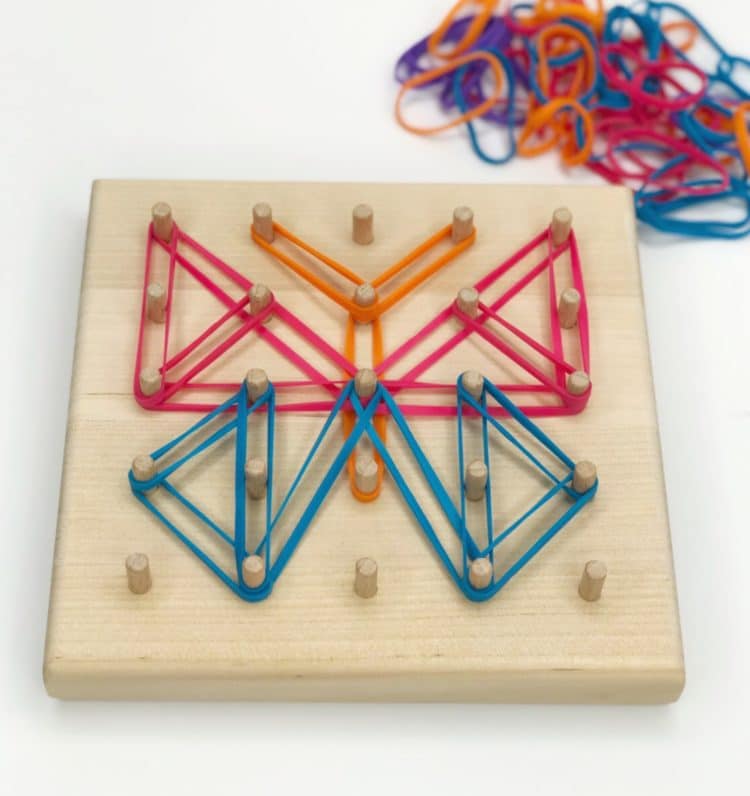
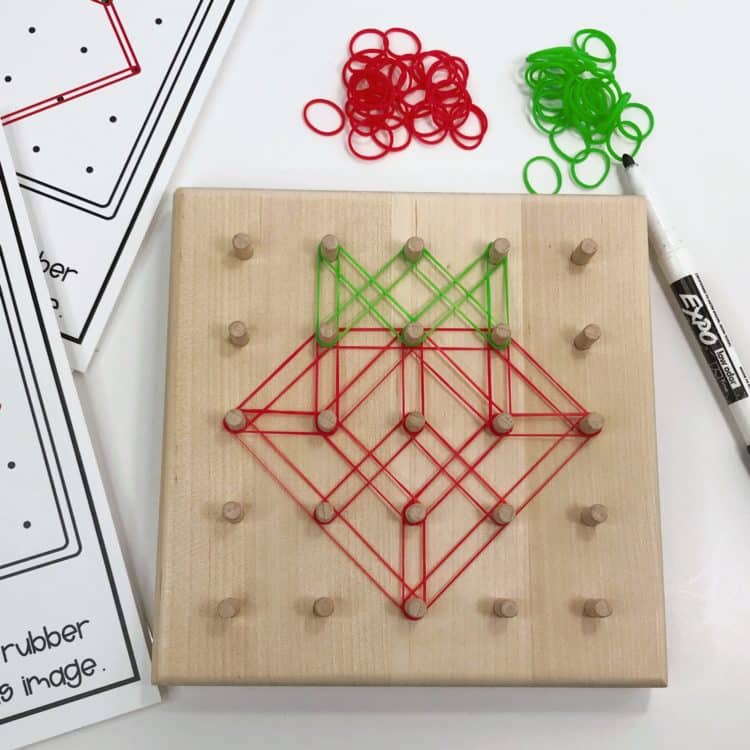
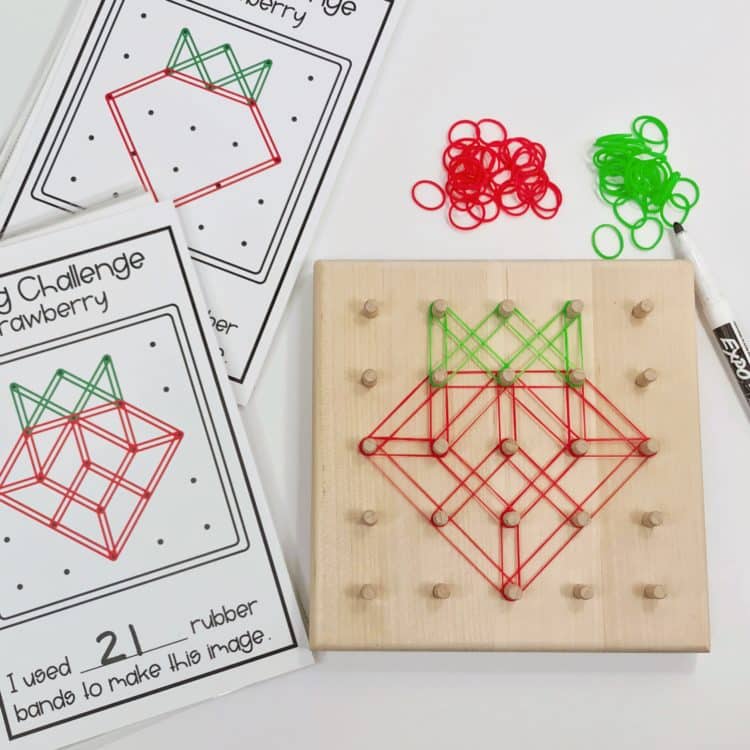
And finally, there are these beautiful hand-made wooden types. I love these! I purchased mine on Etsy, but they have a nice version you can get on Amazon as well (Click HERE!) They are a bit pricey, but the pegs are a bit taller than the traditional plastic boards and are easy to use for students who may be having trouble controlling and manipulating the smaller pegs.
CHOOSING YOUR BANDS
TRADITIONAL OFFICE SUPPLY BANDS
Believe it or not, it really does matter what type of bands you choose to use for geoboards. Traditional rubber bands are not the best choice to use on traditional geoboards because they tend to be too thick and often too long. If you’re using a wooden board they may work, but really, you’re going to want to make a different choice.
LOOM BANDS
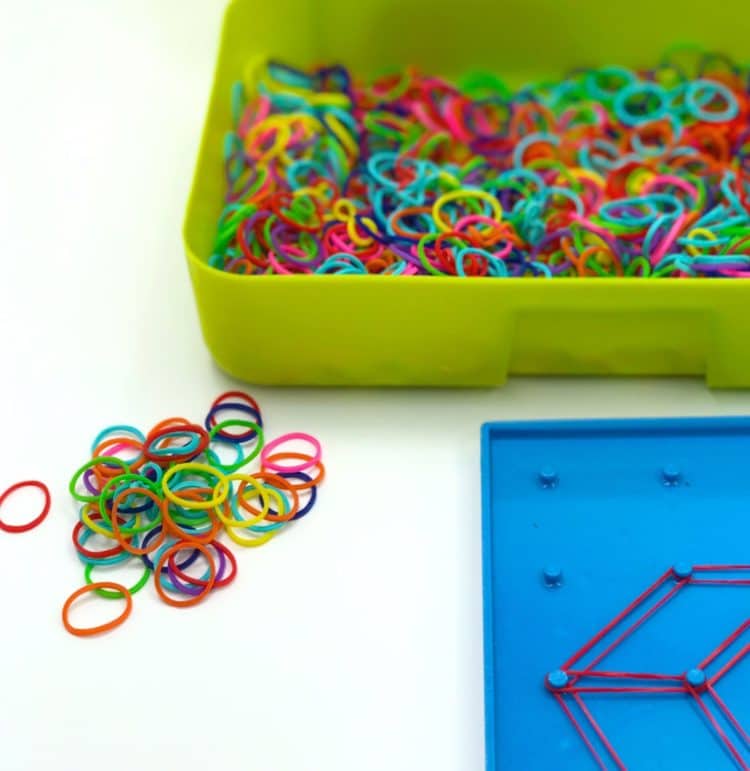
These are probably my best choice for traditional and transparent geoboards that have the smaller pegs. Loom bands force your students to have to pick up small items with their pincher fingers and really use those fine motor skills to manipulate and secure the bands on the boards. Plus they come in like every conceivable color.
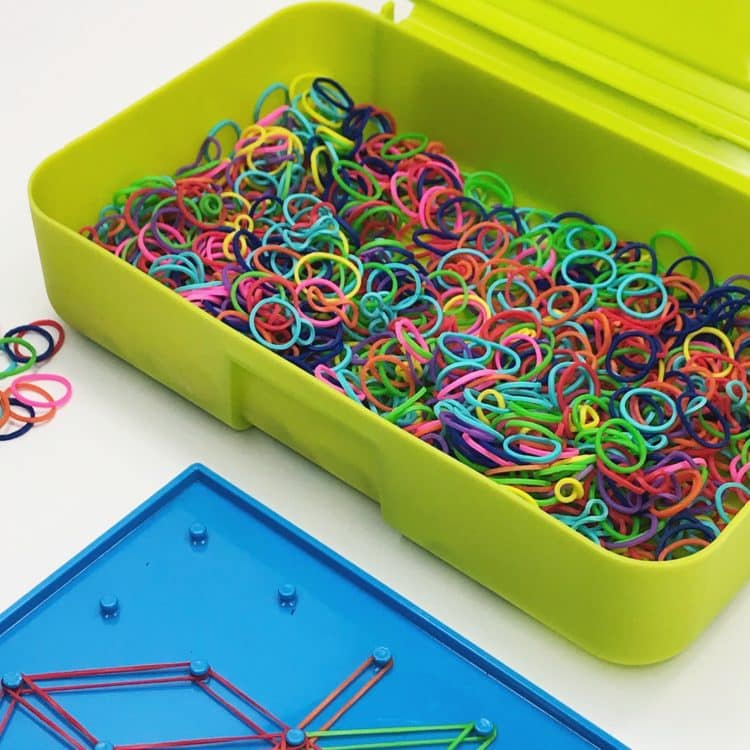
I don’t really get too worked up about the colors getting mixed up. I see it as an extension activity. Students will be forced to sort and pick through the colors to find the one they want.
COLORED TRADITIONAL THICKNESS, SHORTER BANDS
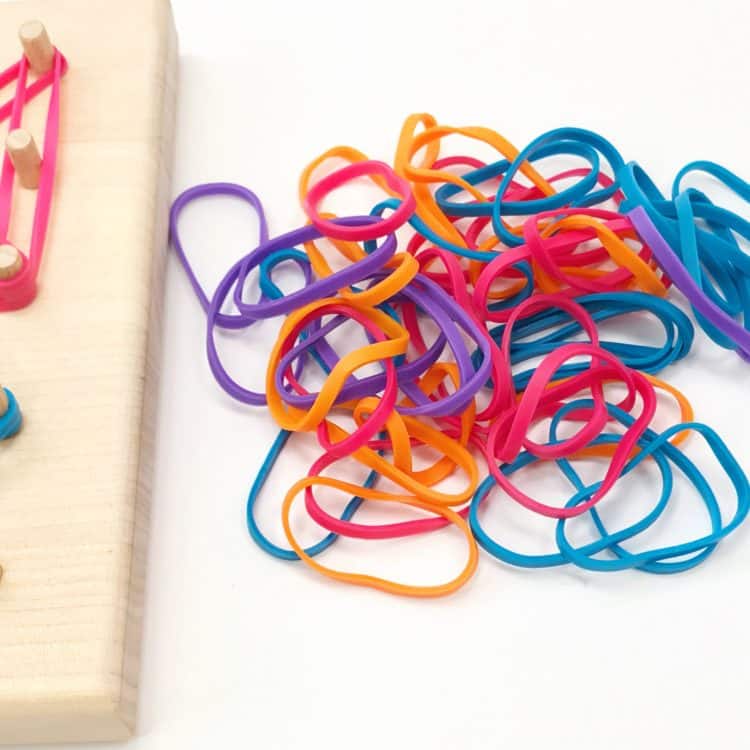
If all I owned were the traditional, small-pegged plastic boards, I would never consider these bands, but I love these bands for my wooden board. They are thicker, so the colors pop, and, because the pegs are slightly longer, they still fit.

CHOOSING THE ACTIVITY
There are so many ways and times during your day that you use geoboards and build them into your schedule.
MORNING WORK
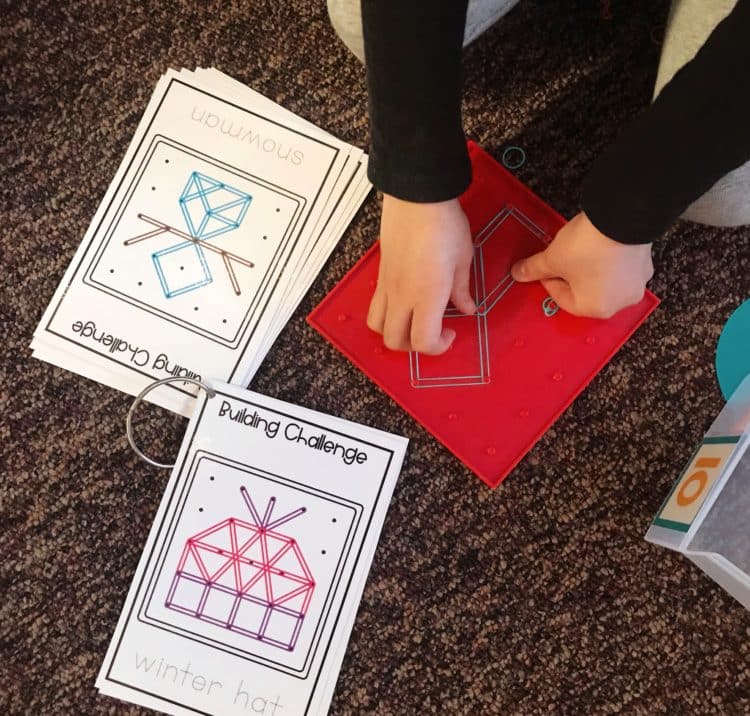
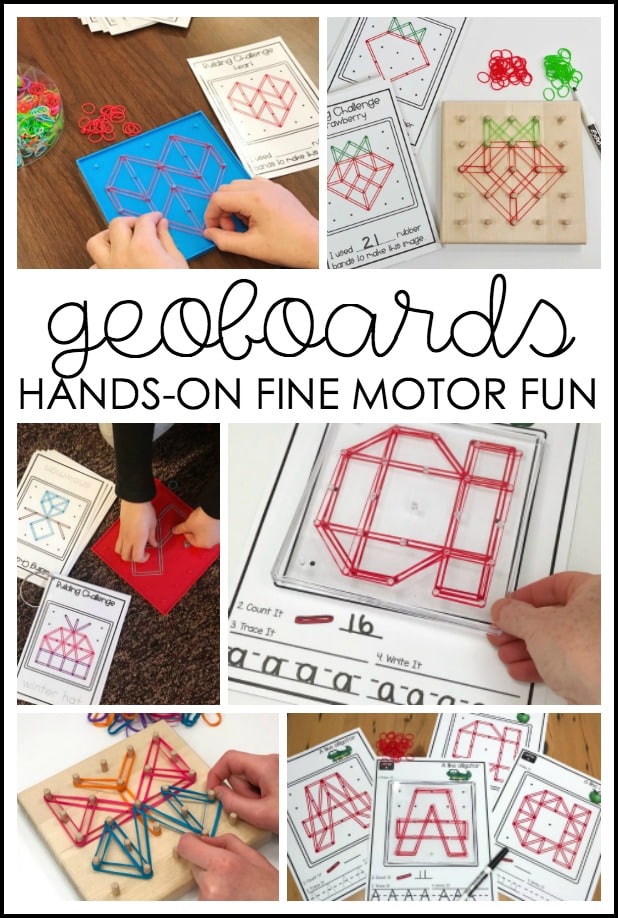
Since I use Fine Motor Morning Work Stations in my classroom each day, it is a perfect time to incorporate the use of these boards as an extra, supplemental activity for improving fine motor. I choose task cards that support my theme at that time of the year. My cards also will either ask students to trace the vocabulary word or use math to count the number of rubber bands they used to create the image.
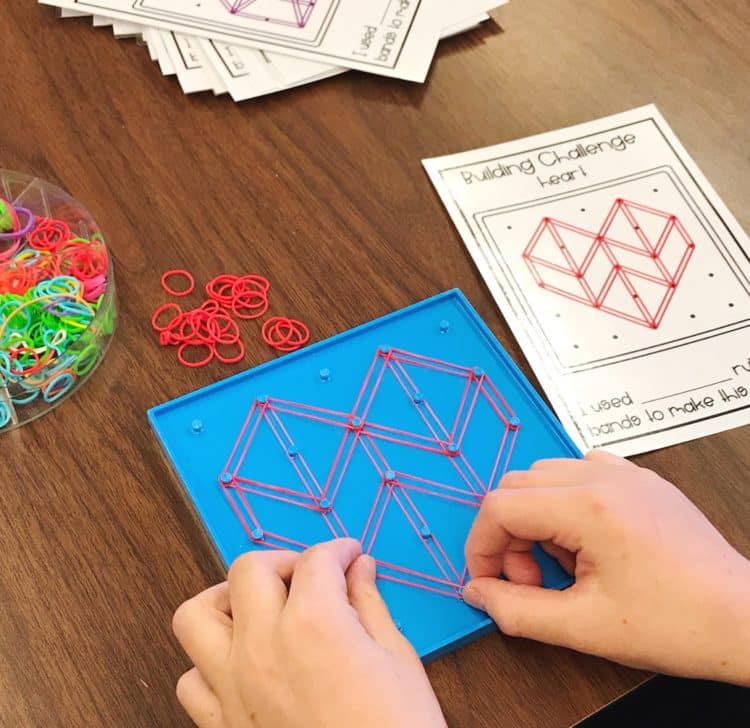
I like it because, once your students learn to use the boards, all you have to do is change out the cards and the activity becomes very independent.
LITERACY STATIONS – ALPHABET WORK MATS
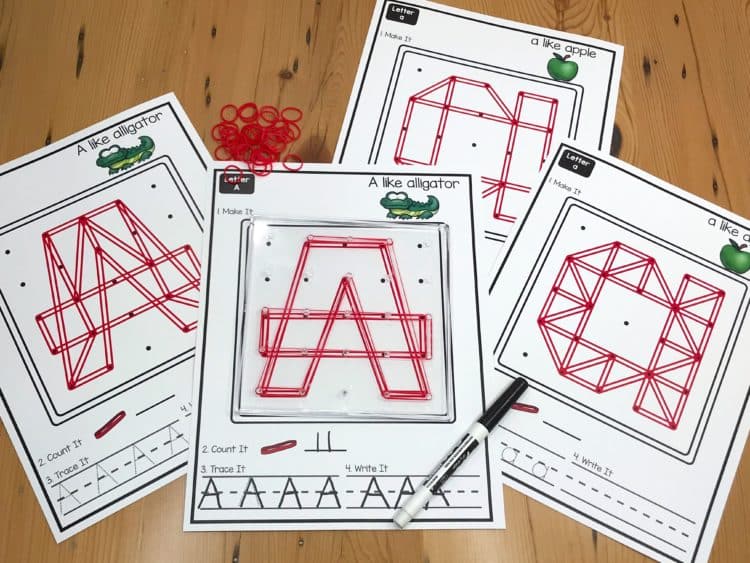
Recognizing letters and learning their formation is one of the first exposures to literacy that a child has. Without a strong understanding of the alphabet, a student’s ability to read could be greatly impacted. That knowledge of the alphabet is commonly considered one of the best predictors of later achievement in reading. So, giving our students various materials and ways to manipulate letters is imperative.
Geoboard mats are just one item amongst many that you’ll find in my independent alphabet workstations. My students love using their spatial skills to make these letters, and I like that these become an independent station for them where they can be successful.
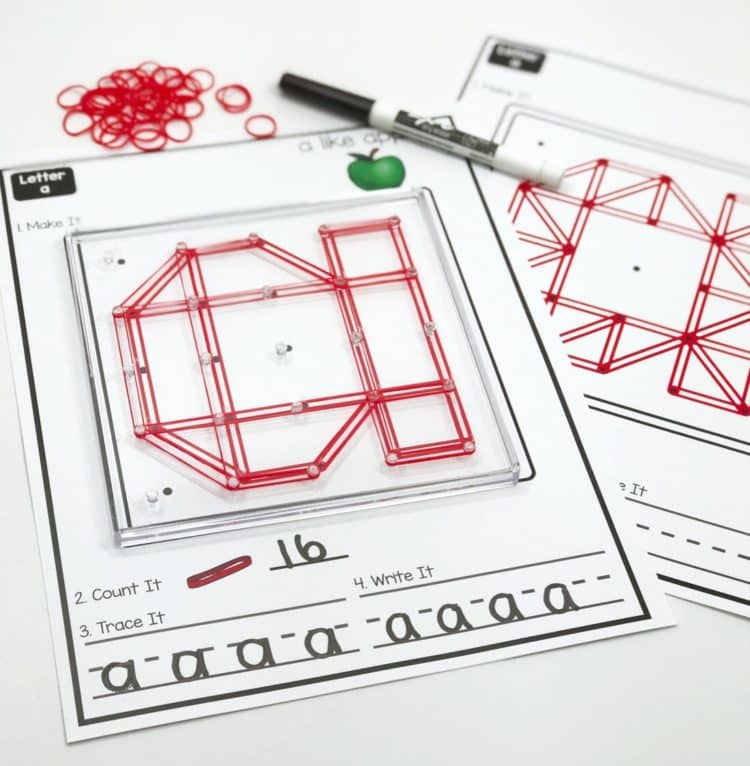
When I have my students at this station, I prefer to have them use transparent boards so they can easily get support if they are having trouble making the letter, just by placing the board on top of the mat.
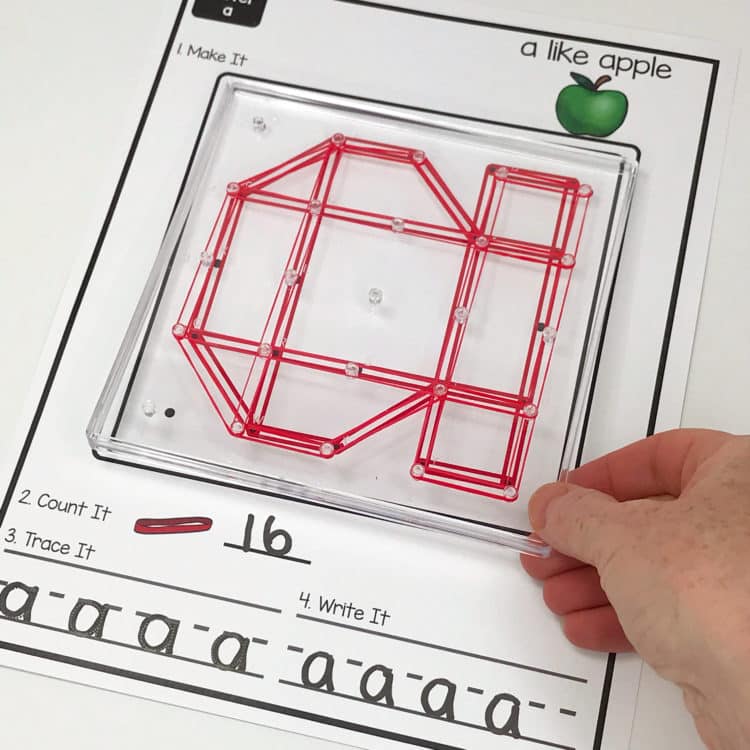
Then they can count and record the number of rubber bands used to make the letter, and finally trace the letter and then try writing it on their own. I laminate these so they can be used over and over again. If it’s a record collection day for them, they can take a picture of the letter they made and send it to me on Seesaw. This is just a way for me to check out what they are doing without collecting paperwork.
FINAL THOUGHTS AND TIPS
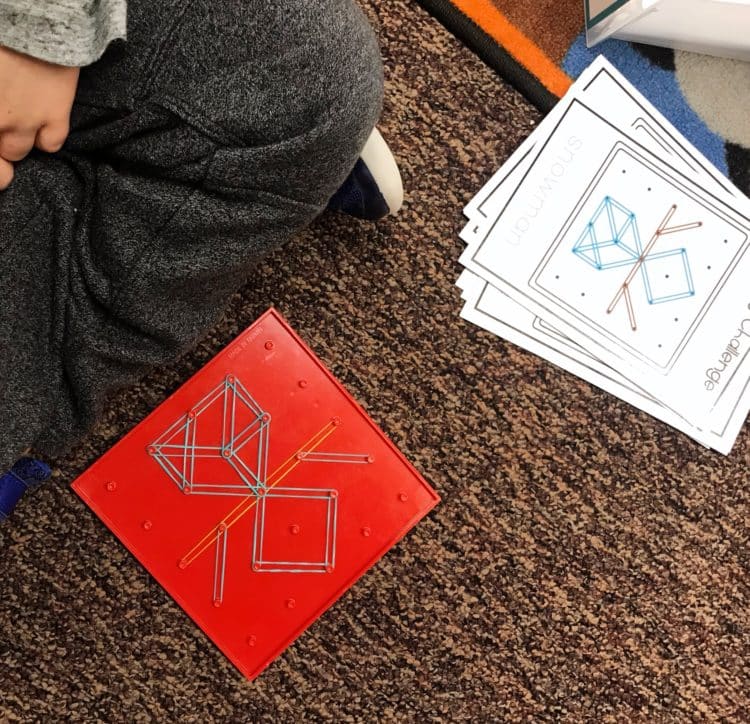
- Before you expect students to produce an item for you . . . a picture . . . a number . . . or letter, give them an opportunity to ‘play’ with geoboards. They need to explore these materials, they like to see how they work and what they can make. If you give them this time beforehand to play with the tools, they will be more inclined to do the work when you need them to do it later.
- If you’re using loom bands, don’t get bent out of shape if you find them here and there on the floor. Putting bands on geoboards is a great fine motor and can be a challenge, but taking them off can be a challenge, too. Sometimes, even with the best intentions . . . PING, ZAP, ZING . . . one will go whipping through the air. My students know that our routine is when we find one, we put it in the LOST ITEMS bucket in our class. They don’t need to hold on to it, put it in their pocket, interrupt me, or play with it . . . just stand up and put it in the bucket.
- Don’t attempt to keep the bands sorted by color. It’s not worth the time it takes to have students do this. It doesn’t hurt them a bit to have to dig through a container of bands to find the color they need and it will save you years of frustration in trying to keep them organized.
- Like any new activity or material you use in your class, make sure you take the time to teach your students the expectations and routines that you want from them while using geoboards. Practice those routines, model them, practice and model some more. A little front-loading of these routines will save you a world of disappointment later.
- Have fun!!
GEOBOARD ITEMS TO SUPPORT YOUR INSTRUCTION
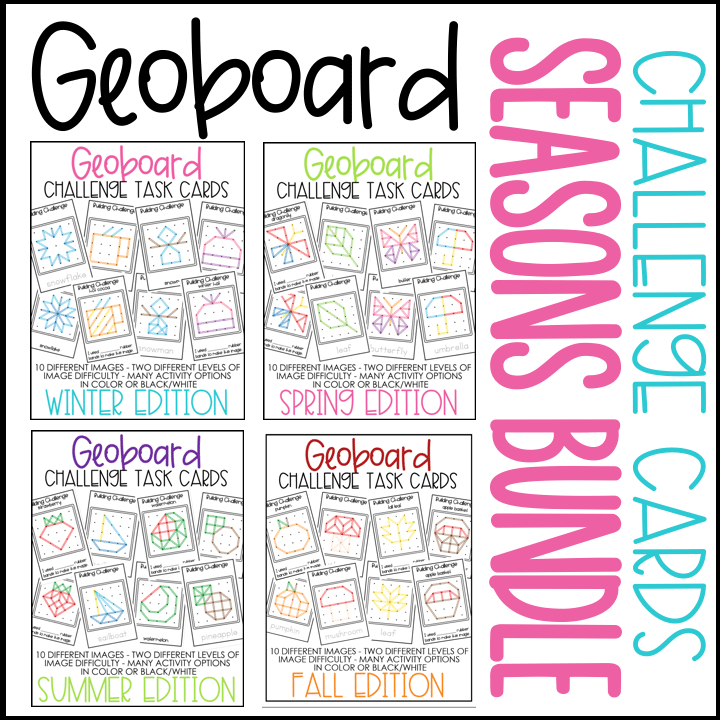
If you’re looking to add some new geoboard activities to your arsenal, go ahead and check out the ones I have available below. They come in color and black and white versions and all have two levels of difficulty to help you differentiate.
Just click on the pictures below to find out more about each item.
ALPHABET WORK
This set is available on its own

or as part of my Hands-On Fine Motor Alphabet Mats Bundle

And thematic bundles for (also available individually) Holidays
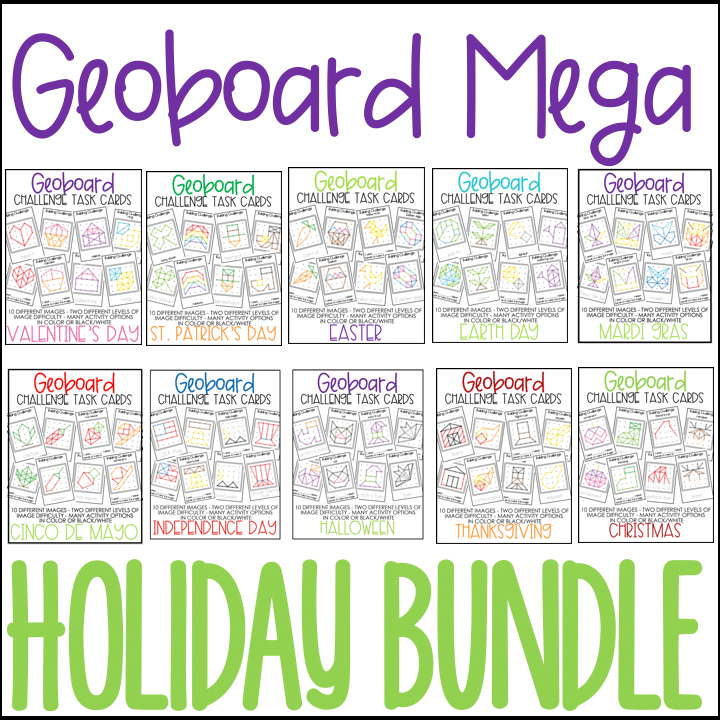
Or for Seasons (also available individually).
Grab A Freebie To Try For Yourself!
If you’d like to give Geoboards a try, go ahead and fill out the form below to get a freebie to try.
Pin It!
If you found this post helpful, please consider pinning it for other teachers to see.





Leave a Reply