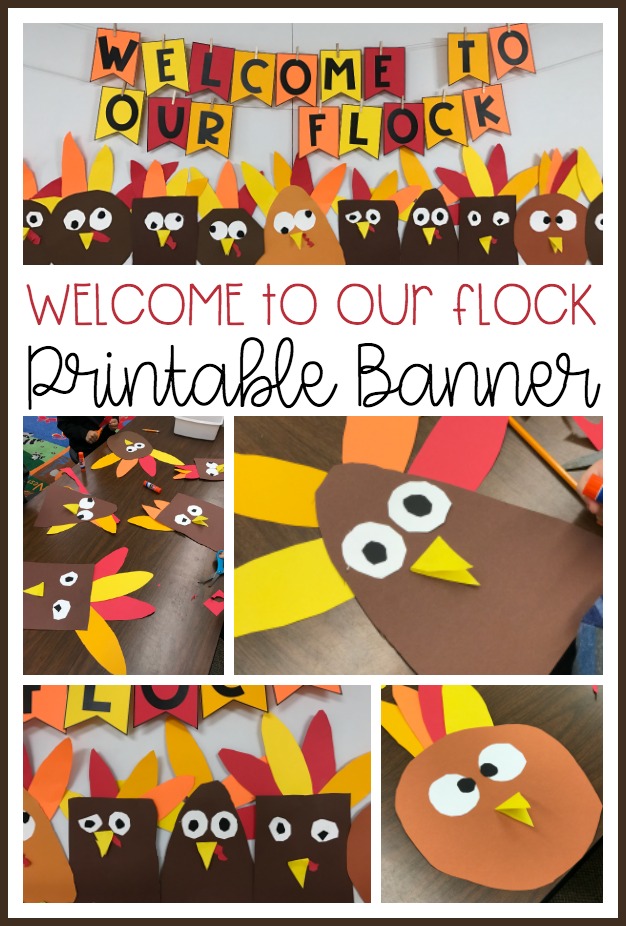
It is surprising how much learning can take place when you create a Turkey Bulletin Board for your kindergarten classroom for Thanksgiving. But it does! Here’s a little sneak peek at how my class did ours and the banner that ties it all together.
THE PLAN
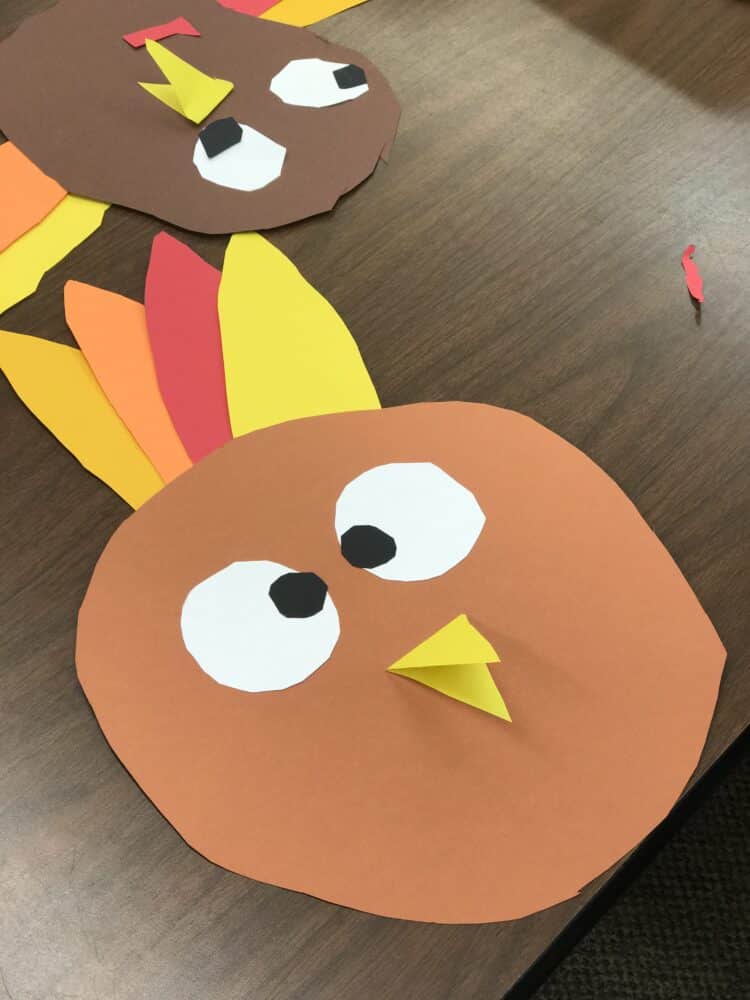
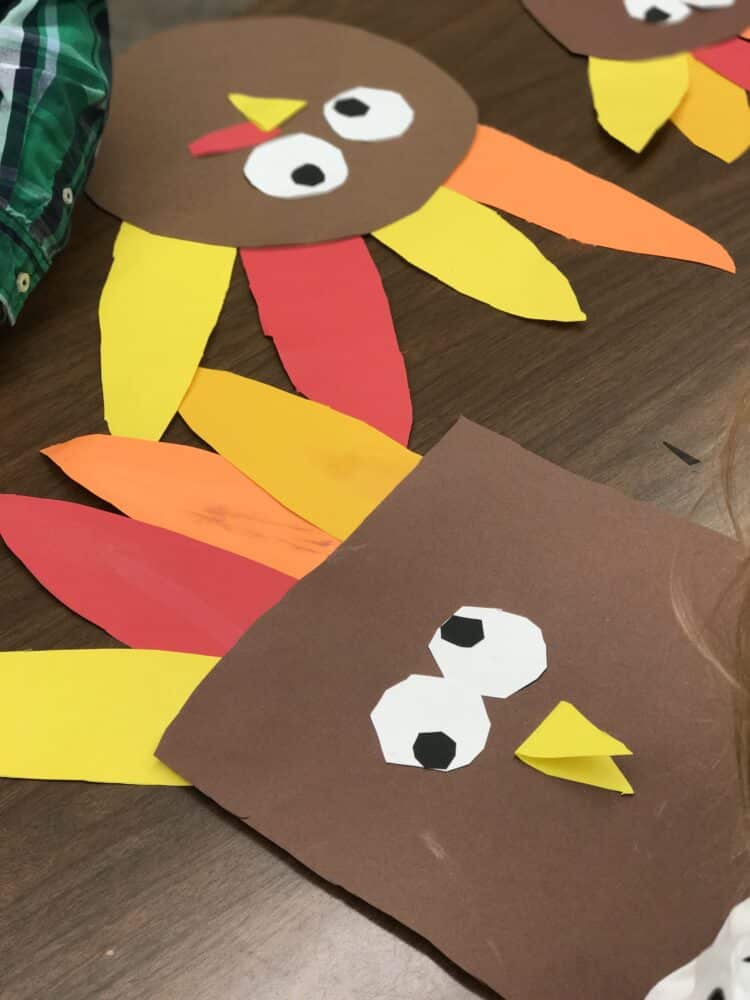
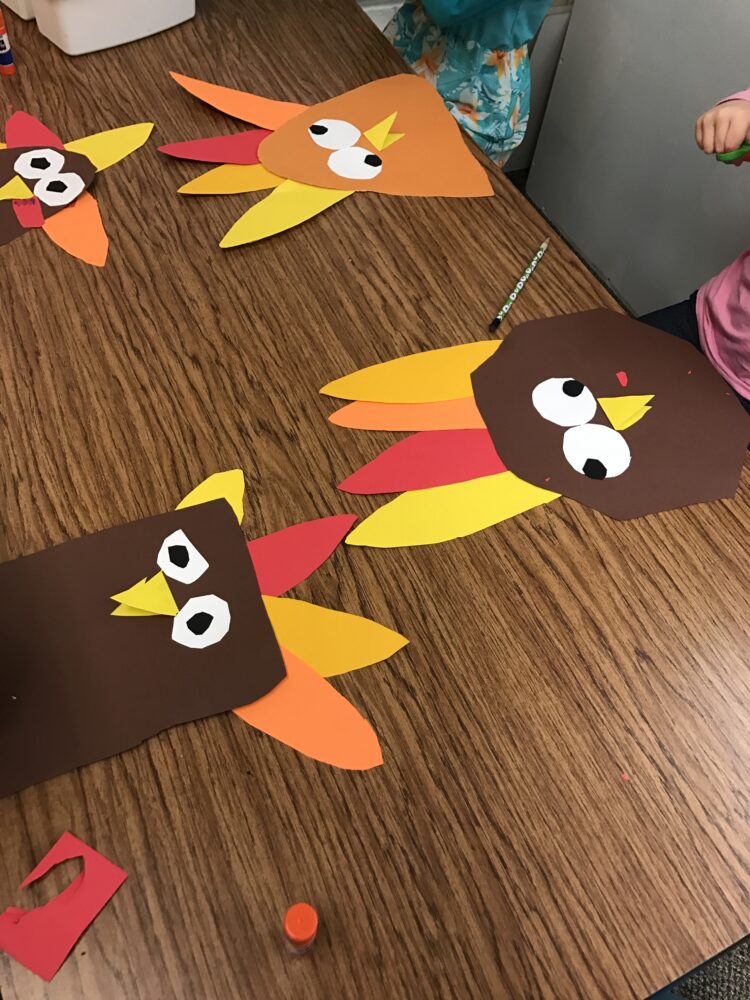
So when I was planning these turkeys in my head, I intended to use this activity to reinforce shapes that we need to learn in kindergarten by making the bodies using triangles, circles, rectangles, squares and even hexagons. We did a similar thing with our Pumpkin Patch bulletin board (you can check that one out HERE), and my students loved it. I heard lots of great shape conversations. ‘You have a triangle. . . my turkey is a hexagon.’ It definitely reinforces the fact that my students recognize those shapes.
But even more valuable, was the opportunity for my friends to CUT. I do my best to get them cutting many times in a given week. There just isn’t any substitute for honing those fine motor skills. The thing that surprised me is how far their cutting has come since we did the pumpkin bulletin board the month before. Those daily cutting opportunities and those Fine Motor Morning Work Stations have been doing their job. My kinder friends are getting stronger.

Even the detail pieces like the eyes and beaks were looking like . . . well . . . like eyes and beaks. It was kind of great to see.
CREATING THE BIRD
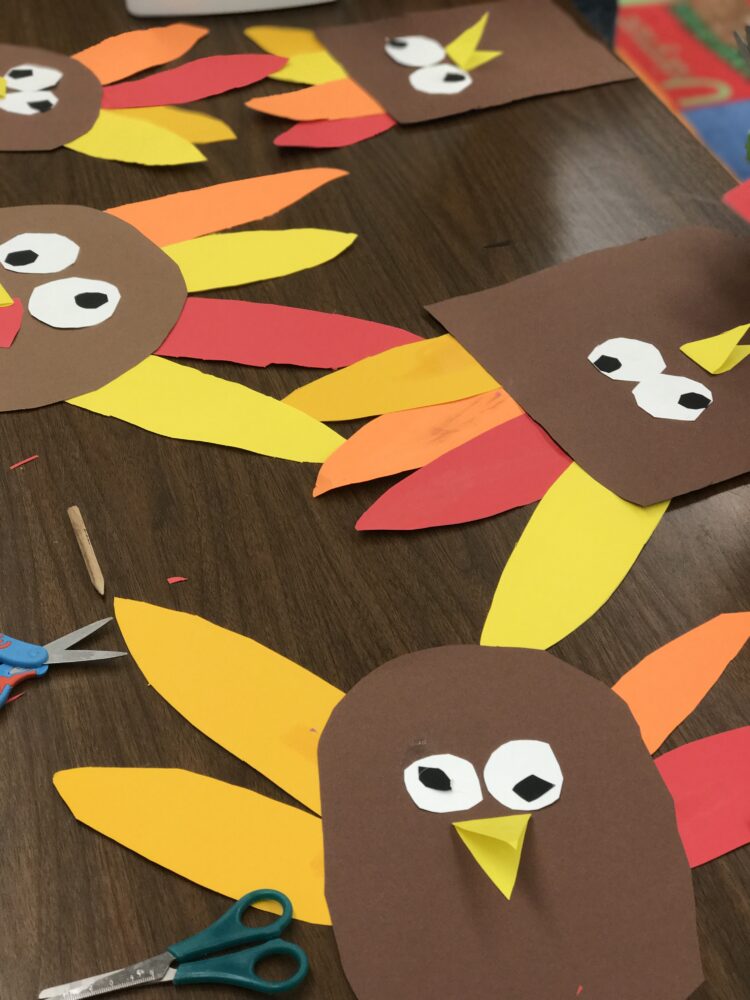
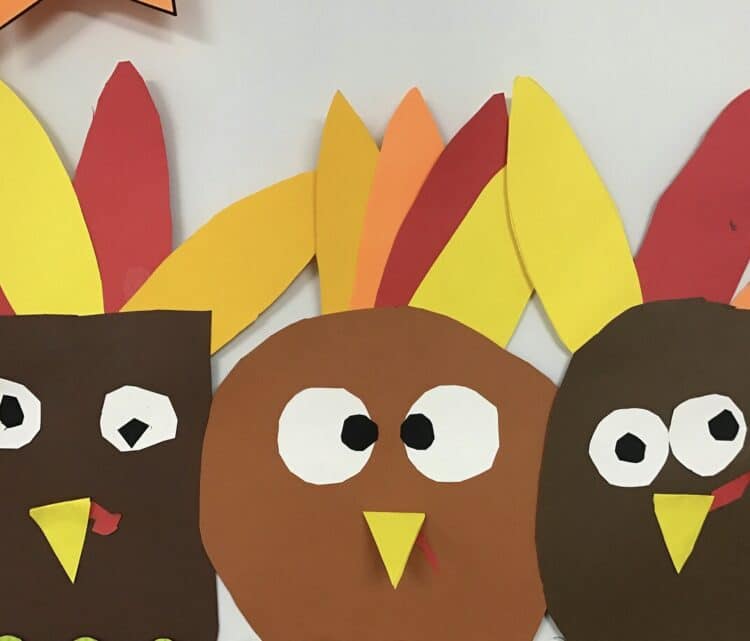
The turkey bodies are created using a variety of shapes and brown shades of paper. I’m an Astrobrights fan so that’s what I used, and using printable cardstock means you can print and go with this craft. If you don’t have printable cardstock, don’t worry. I have a template that’s part of this project that you can print and use for tracing all the shapes. Using different sized eyes, pupils, and beaks adds a bit of variety, and creates some fun features.
After the bodies and faces are complete, just cut and add the feathers. I like to use four feathers in four different colors, but you do you!
When I have my students do these kinds of projects, it’s really one step at a time. First, we cut the body. After that, everyone comes back to the carpet, and I demonstrate the next step. Upon completion of that step, they come back to the carpet, and I demonstrate the step that comes after that one, and so on and so on. This is the way that big projects work best for me. We finish small simple steps together and then come back to regroup for the next step. By doing this, we can keep everyone on track, and no one gets overwhelmed by too many details at one time.
THE TURKEY BULLETIN BOARD AND BANNER
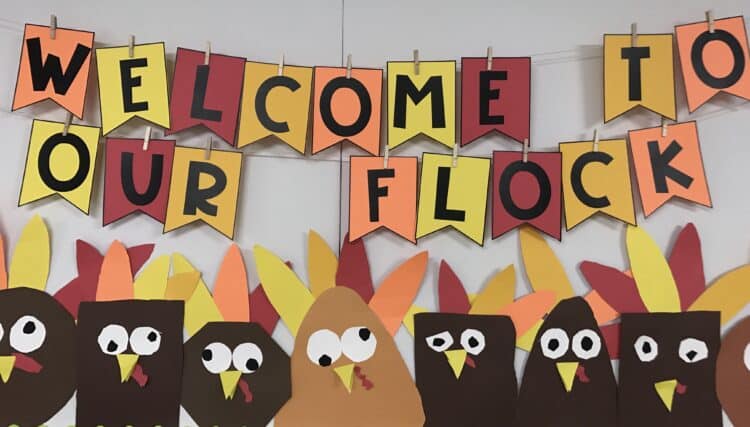
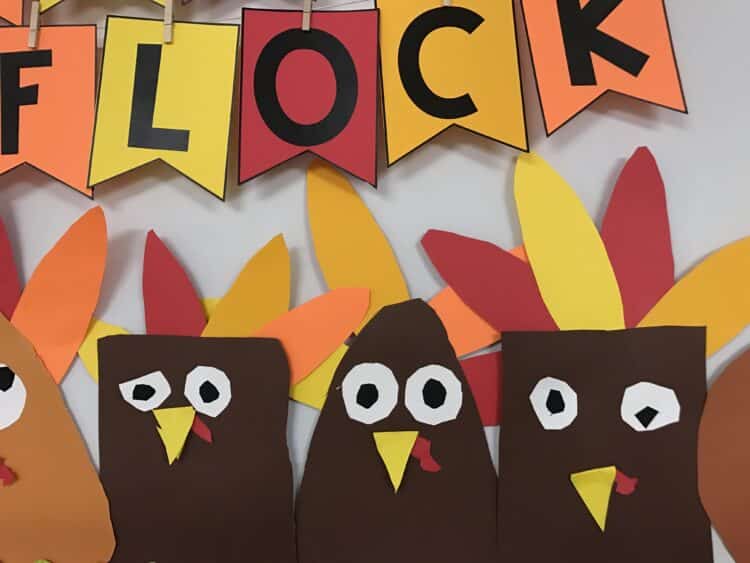
After that, it’s just a matter of printing off the bulletin board letters. You’ll need to select three pieces each of four different shades of paper. I’ve labeled the bottom of each banner page with ‘color 1, color 2, . . . and so on so you’ll know which colors go where. Once they have been printed and cut apart, I just use a simple piece of twine that I hang from the ceiling using ceiling hooks and miniature clothespins. Easy Peasy! The results are a ‘too cute for words’ quirky turkey bulletin board that everyone will adore.

I love them, because they are all so unique and just so fun!
If you’d like to make this sweet bulletin board for your own class, just click here or on the picture below.
For more great Thanksgiving Ideas, check out my Teachers Pay Teachers store by clicking on the banner below.
Or click on any of the activities below:

PIN IT
If you enjoyed this Turkey Bulletin Board post, I’d love for you to share it.





Leave a Reply