Chapter 3: The Next Step
You know, I tell myself every year, “this summer, you’re not going to do a book study.” And every summer, of course, I do and I never regret it because, quite honestly, every time (so far) I’ve learned new things or have been able to tweek what I’m currently doing to make things better in my classroom. This year is no exception. I am LOVIN’ this book and these ideas because it really does attend to all the readiness levels in my class and I can totally see how I can make it work in my room. Luckily, I get to host this week’s chapter along with Jeannie from Kindergarten Lifestyles , Mandy from A Special Kind of Class and Lidia from KinderAlphabet and it’s a BIG one. So get yourself a comfortable spot, a cool beverage and be ready for some good information.
Chapter 3 talks about Pre-A or Non-Readers
and
Emergent or Readers of levels A-C
So what’s the difference and how do we address their needs differently.
So let’s start with Pre-A and Richardson suggest for these students. Richardson does a nice job of breaking out how much time you will need for your lesson and each lesson component as well as materials and checklists that you are going to want to keep on hand for this group.
And…..letter magnets….I have the plastic colored ones that you can buy almost anywhere, but I prefer this kind for working with a chart or later making words. They seem to ‘fit’ better. You can get them from Amazon (free shipping too!). Just click on the picture if you need more information on this type.
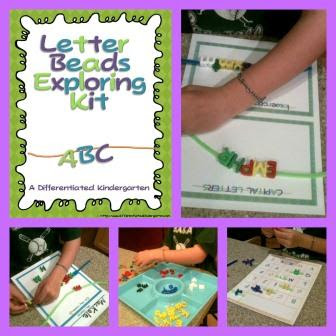
I often use the other plastic kind for sorting, but changing them up by using letter beads to keep my kinders engaged.
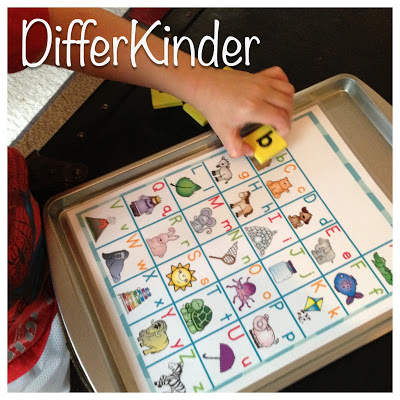
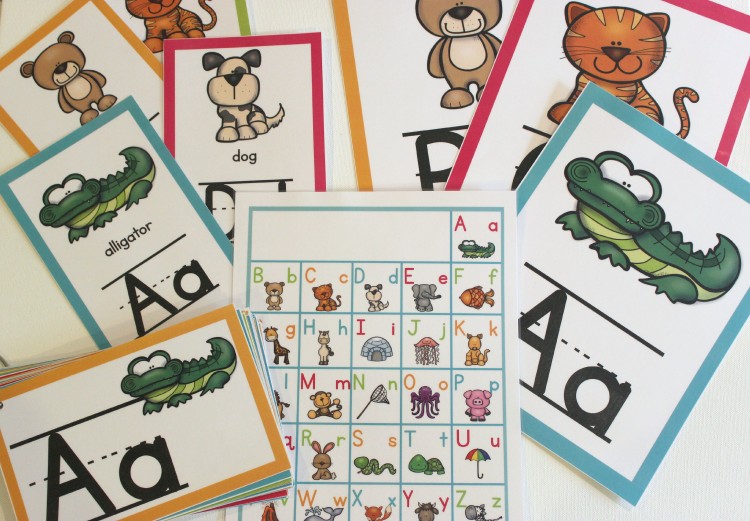
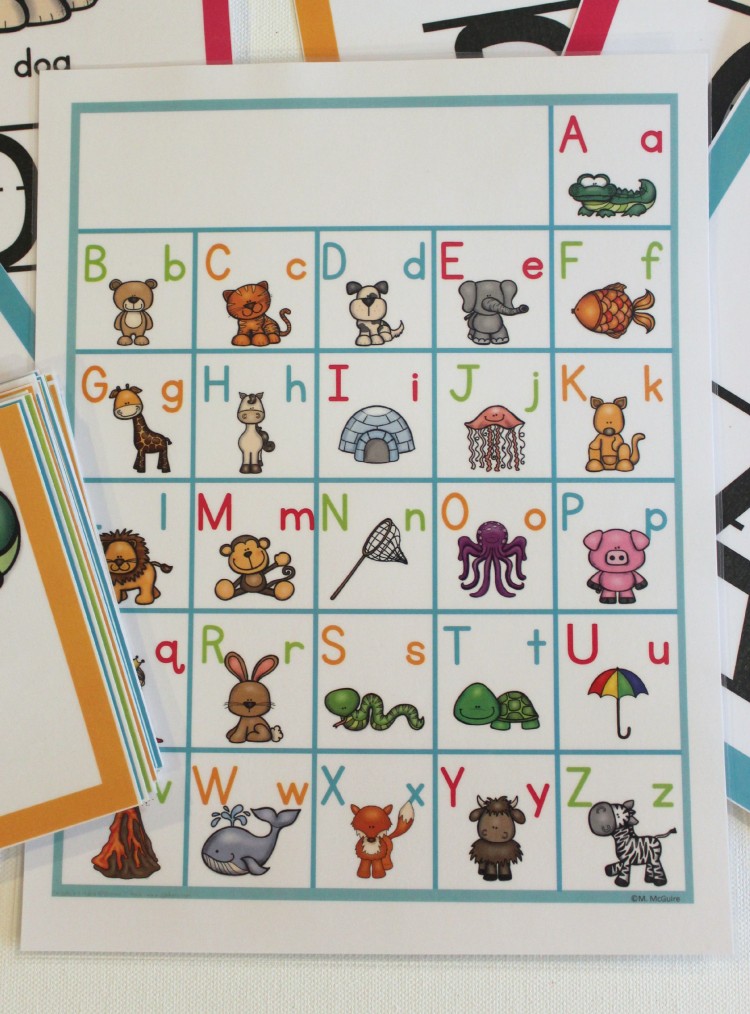
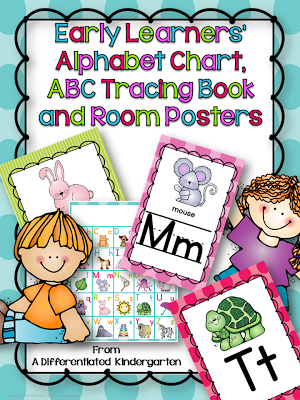
Now I know that some of you have letter charts and that’s all good and fine, but Richardson suggests that your chart should match your word wall letters and pictures and mine DID NOT. So, of course, I had to make a new one up. If you’d like this chart, it’s my gift to you FREE. Just click on the picture. It comes in black and white.

Here’s some activities that she suggest for each of the four components involved with Pre-A Lessons:
PRE-A Lesson FormatWorking With Letters (3-4 Minutes):
- Match The Letters In the Bag: Place multiple sets of magnetic or other letters in a bag and match them up.
- Match letters to an alphabet chart-Students get a chart and several letters in a bag and match them up.
- Match Caps with Lowercase Letters-Place several sets in a bag for matching. Have your chart available if needed.
- Sort by color. (I actually do this with my letter beads. You can get a FREE copy of my bead starter pack to get you started below by clicking on the picture.)
- Name letters left to right-Just line them up and name them quickly…you can even say ‘beat the clock; and make a game
- Name a word that begins with that letter-Students pick a letter and give you a word.
- Name a letter that begins with a word-Teachers say or word or use picture cards and have students pick a random card to tell you with which letter it begins.
- Find the letter that makes the sound. -Teachers give a sound and students find the letter.
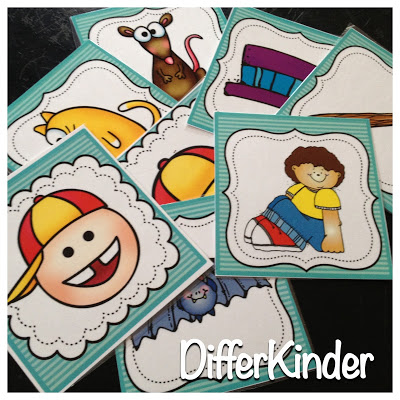
- Clapping syllables-Use picture cards or just say the word. I actually use the picture cards from my word family packets, but I have a small sample for you to use hear if you’d like. I also try and make it a bit more fun by using finger claps, clickers or whatever you have laying around.
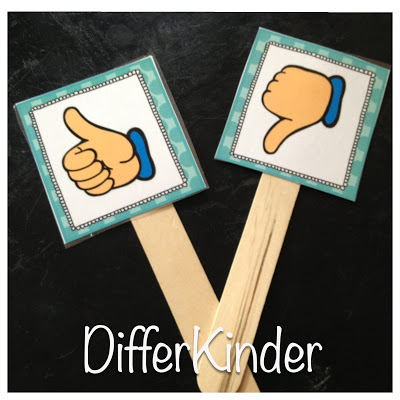
- Working With Rhymes: Again, I use picture cards from my word family sets and say two words. If they rhyme, students can put up their thumb or use these ‘thumbs up, thumbs down’ symbols from my word family unit that I place on craft sticks.
(As independent practice, I place these same cards in a station for students to sort into buckets or onto clothesline to make it more kinesthetic and engaging.)
- Picture Sorts: Students sort pictures by initial sound
- Guide and Discuss Pictures
- Read with Students
- Read on Own (During this time, work with students on teaching points: concept of a word, first/last word, concept of a letter, first/last letter, punctuation, capital/lowercase letters.)
- Dictate simple sentence
- Cut-up Sentence
Here’s another thing Richardson insists is necessary for these young ones that have not mastered their letters yet:
That means your small alphabet chart
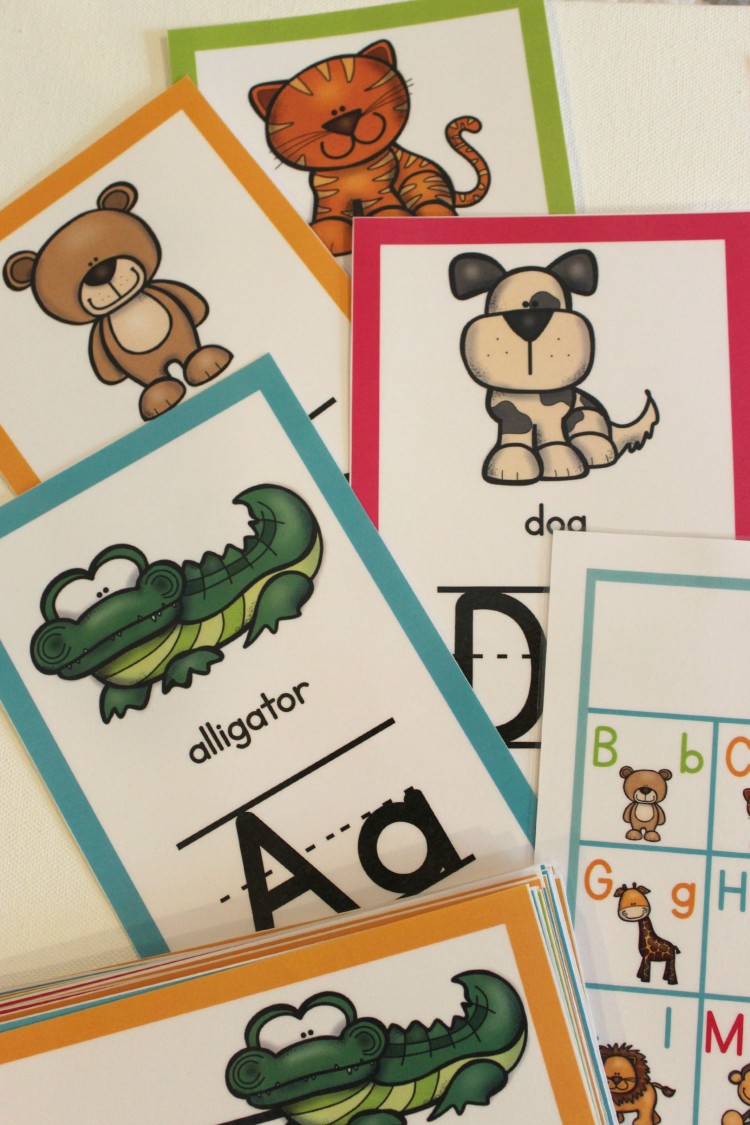
should match your large, classroom alphabet posters,
which will match your word wall letter headers
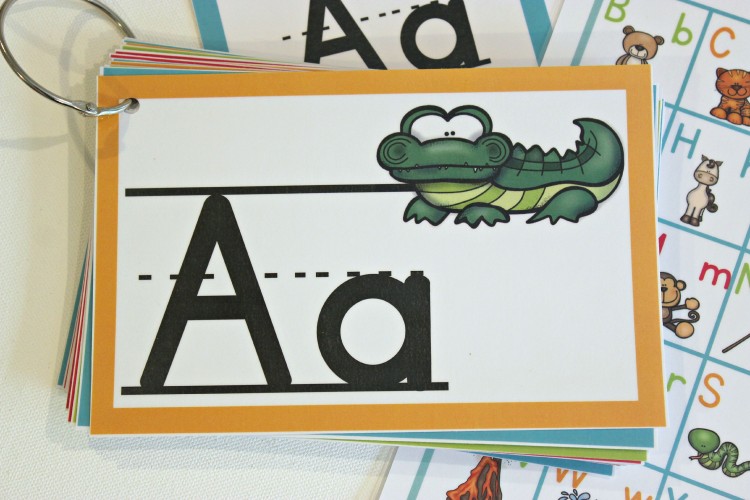
and finally your alphabet tracing book.
Of course, I have students practicing tracing letters consistently throughout the beginning of the year when they do know fluently recognize them but have I ever had every student without 40 letters or more sit with a ‘tutor’ and trace an ABC book such as the one described here…ummmmm NO. Am I willing to try it? Of course. I currently use my Top Bananas letter mastery program to get my students recognizing their letters fluently and it works well as a pre-curser to Ball Words (sight word master)
but IF I can get a volunteer to come in everyday and sit and trace letters with my students, would I try this, absolutely. My problem is that lately, we do not have that kind of readily available, reliable and consistent support in our kindergarten classrooms. And because this is something that should be done outside of guided reading, I’m not sure how it will get accomplished.
I don’t have a ABC book that matches my word wall letters and pictures so I made one up here and I’m offering it to you in case you need one too. You can get it in either plain letters without lines or with lines. I prefer without lines personally because I think it’s too confusing for some of my kinders in the beginning, but I know some of you like it. And it’s for you….and only you because you follow my blog for FREE. Just click on the pictures.
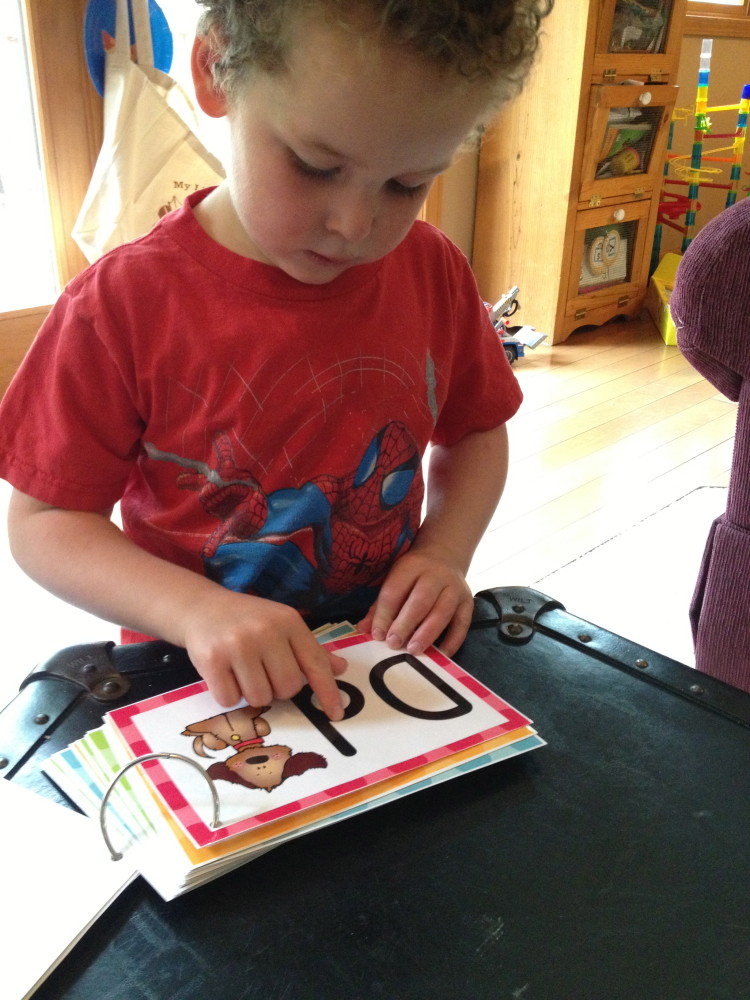
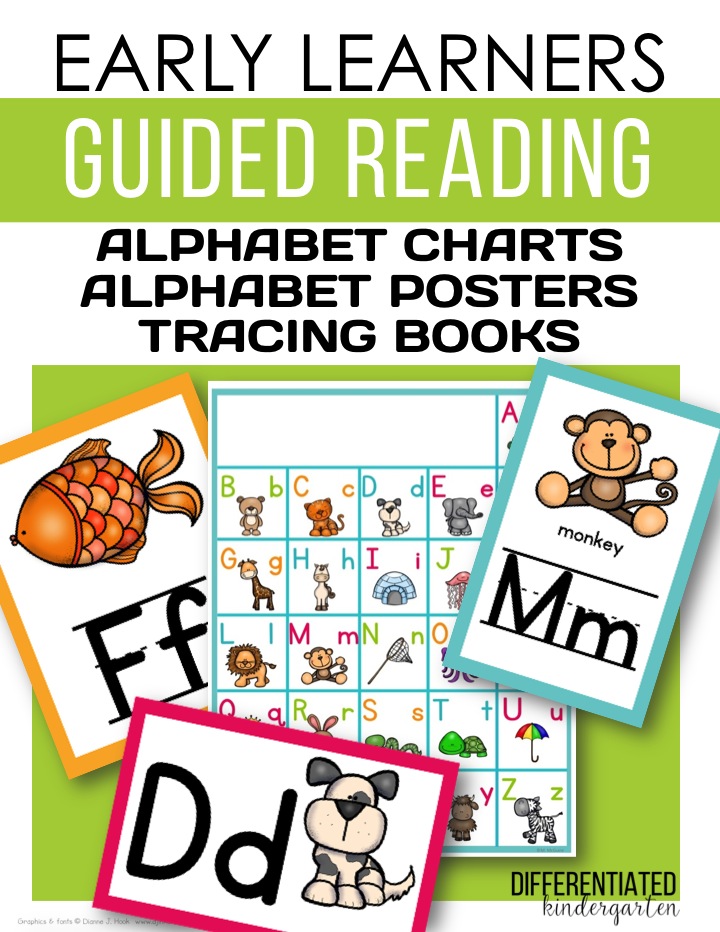
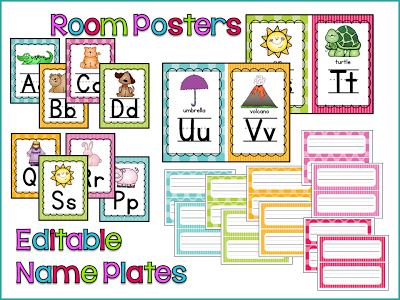
Richardson emphasis the need for all these components to match in order to minimize confusion and create a stronger connection between the letter and beginning sound. If you’d like to grab the posters and editable name plates that go with these, they are available as a complete package. Click on the pictures below to see everything. I have two different versions.
EMERGENT GUIDED READING LESSONS
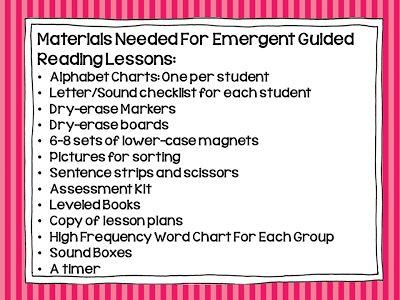
Again, Richardson maps out the time and materials you’re going to need very nicely.
There is a two day plan for emergent guided reading lessons that Richardson suggests.
Day 1
Sight word review (1-2 Minutes): Students practice three previously taught sight words. (You’ll be assessing during this time to see who has mastered these words and who still hasn’t.)
Introduction (3-4 Minutes):
- Talk about main idea
- Story Walk
- Introduce new vocabulary
Read the Story (5-8 Minutes):
- Students read independently: Students should read the book several times for this time period. (Listen to see if they are using strategic behaviors to solve problems. You will be taking notes during this time.)
Teaching Points (1-2 Minutes):
- Use your observation notes to teach and reteach strategies.
Teach One Sight Word (1-2 Minutes):
- You will not move on to a new sight word until first one is firm.
- Follow the activities below everyday with every word in this sequence:
- What’s Missing: Write the word and and remove letters for students to replace.
- Mix and Fix: Students get the letters to make the new word.
- Table Writing: Students use their fingers to write the word on the table.
- Whiteboards: Students write the word on the whiteboard saying the word as they write.
Word Study Work (3-5 Minutes)
- Picture sorts-(If you have my Word Families Galore Bundles, these picture sorts are right in there that you can use for these.)
- Level A-initial sounds
- Level B-medial short vowels (a and o)
- Level C-medial short vowels (i, e and u)
- Making Words
- Level A-use to letters to start adding the initial letter to make a new word.
- Level B-Take three letters and make a word and then make the rhyming words that go with it so you are only changing the beginning sound
- Level C-Take three letters to make one word and then change beginning and ending letters to make new words.
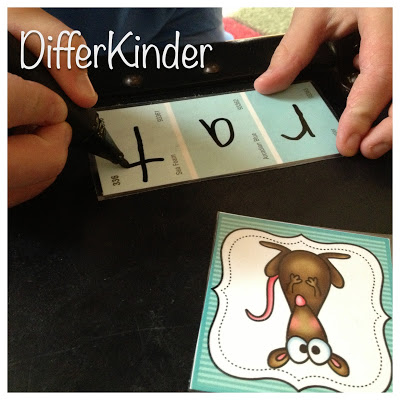
- Sound boxes: Use sound boxes for students to write the sounds they hear.
***For ‘sound boxes’ I like use paint sample cards. You can get them in 1, 2, 3, 4 and even 5 boxes, and they just seem to hold my kiddos’ interest a little better than some plain old black and white squares.
***You can extend making words activities with independent, self-correcting bead work or with the word family galore’s ‘say-make’write’ mats). (Click on any of the pictures below to get more information.)
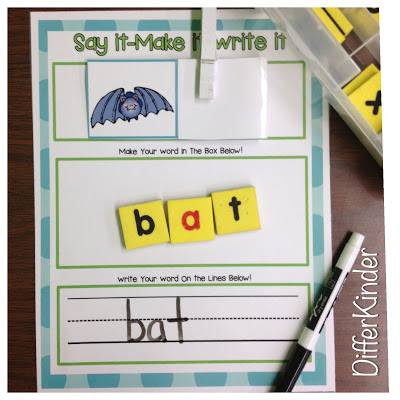 |
| Word Families Galore-Use play-doh stamps, magnets or beads to extend practice |
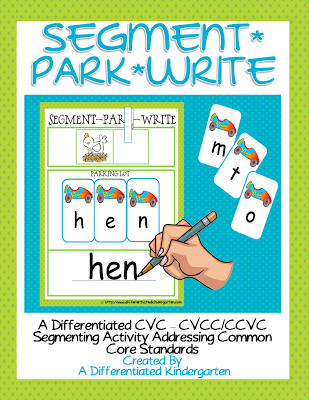 |
| Or tap into your students interest . . . . |
 |
| By offering lots of options for practice, you can keep students engaged. |
Day 2
Sight Word Review (1-2 Minutes)
- Same procedure as Day 1
Familiar Reading (5-8 Minutes):
- Use same books as Day 1. If students are able to read this book quickly and easily, give them other familiar books to read.
Teaching Point (1 Minute):
- Same procedure as Day 1
Sight Word (1 Minute):
- Teach same sight word from Day 1 following same procedure and sequence of activities
Guided Writing (8-10 Minutes):
- Dictate a sentence to students with new sight word included and appropriate challenges for the group.
- Level A: Simple 3-5 word sentence.
- Level B: 5-7 word sentence
- Level C: 7-10 word sentence
- Students repeat the sentence several times. Drawing a line for each word. (This helps them to remember to use spaces between words.)
- Sight words must be spelled correctly
- Encourage them to take risks (inventive spelling ok here).
Definitely, leave me any questions, ideas or thoughts you have so I can follow up in another blog. Also, if you’d like to link up your own posts about this chapter, make sure you do it right below. I’ll be checking out all your ideas. And don’t forget to head over to Jeannie’s and Mandy’s blogs for more great ideas on this chapter.
I hope you found some good information you can use from this chapter. I know I did.













I loved this chapter! I finished my first year teaching guided reading after teaching reading through direct instruction for 6 years. This chapter, and your awesome explanation, really helps me see how I need to be focusing my lessons. Thank you!!
Thanks for your kind words. I’m so glad it was helpful.
Marsha
Wow, amazing post! I am not doing the book study, but I want this book just for this chapter! Thank you!
-Carol
Mrs. Cobb’s Kindersprouts
If you are interested in the book, there is a widget in the right hand side of my blog with the link. Thanks for your comments.
Marsha
I used this last year!!!!! It is fabulous to see the growth my scholars made this past year. I created a template to help with my planning that saved me so much time. I have 3 levels for free on my TPT store. Come grab them. I have pre-a, emergent and early guided reading (this is chapter 4)
That’s great. I’ll check it out.
Marsha
You are an amazing teacher! Thanks for all the good info! wendy 1stgradefireworks@gmail.com http://terrysteachingtidbits.blogspot.com/2013/07/christmas-in-july-blog-hop.html
Thanks for your comments.
Marsha
An absolutely wonderful post. You are one smart gal. Thank you for the info and freebies. Firing up the printer…
Jayne
ABCs of Reading
Smart Kids
Awww thanks so much. Hope these prove helpful for you.
Marsha
This is awesome…. I just bought this book based on this post!! 🙂 Thank you for the suggestions. Where can I access the other chapter reviews and the future ones?
If you go to Freebielicious you will see where the previous chapters are introduced and the hosting authors are located…if you still can’t find them, let me know.
Marsha
WOW!! This is a GREAT post! Just a question- in your first freebie at the beginning of this post, you have the colored and black/white alphabet chart… Is that a reg size sheet of paper (8.5 x 11) ? And you mentioned something also about handwriting pages that you cut apart and put in a ring for easy access/reference for students; I didn’t see any handwriting pages. All I saw was what looked like word wall letter cards that match your alphabet chart? Am I missing something? Thanks so much?
The chart is an 8.5 x 11 and the ‘handwriting pages’ are actually a ‘tracing book’ that your students who know less than 40 letters trace each day with their finger. You will print off the ABC tracing book, laminate, cut and bind (I use a ring) and have your students use them each day as needed.
Marsha
Thank you Marsha. Would you suggest making a tracing book for each ‘struggling’ student? or just one for the whole group? And do you leave the picture on? ort where they see just the black letters? And do you include all 26 letters? I love the paint sample idea! Picked up some today! I love reading all of your great ideas and helpful suggestions. Thank you for answering my questions!
Thanks for the awesome freebies! When I saw you were going to host this chapter I was very excited! You are always clear and concise, and consistently offer quality products.
When the author discussed having volunteers come into the classroom I immediately thought about older students. I work in a pre-K – 8 school, so I will probably have some of the 7th or 8th graders do it, but I’m sure that 6th graders would also do well, just a thought : )
That means alot to me Cori. Thanks for your kind compliments. I think I’m going to find some ‘volunteers’ as well.
Marsha
I was JUST fretting about getting volunteers in to do the alphabet tracing and it didn’t even occur to me to recruit older students! We are K – 6 and I’m sure we have some reliable sixth graders who could do it. Great suggestion!!
what an awesome post! I used Richardson last year, but by the middle of the year, it fizzed out because I wasn’t quite sure what to do anymore and it wasn’t grabbing their attention. I’m not sure what my district will do this year, but I got a lot of ideas from your post! 🙂 I love the paint chip cards for sounds boxes! 🙂
Sarah
teachingiscolorful.blogspot.com
My students love paint chips to use as Elkon boxes.
Thanks for your comments.
Marsha
Thank you so much for the freebies! My school does leveled reading groups and I am teaching the lowest group, so this post is right up my alley! The wheels are now turning on what do to with my kiddos this year!
Thank you again!
Steph
Be A Nut with Mrs McNutt
I’m so glad I got ya thinking.
Marsha
Thanks for sharing all the ideas and freebies!
Michelle
You’re very welcome Michelle.
I read the book last summer and started doing what was suggested from the very beginning of the year. I tested my students the first and second weeks of school and then started my intervention. I will tell it made a huge difference in my letter ID scores. The tracing book made a huge impact as well as using the same letter pictures throughout my classroom such as on the word wall, whole class letter chart, and individual letter chart. We also include a movement to go with each letter that corresponds to the letter picture, i.e. moving your arm like caterpillar crawls for the letter C and it’s corresponding caterpillar picture. This is a great book. The only problem I found is that I just didn’t have enough time to get through the whole guided reading lessons.
My big ol’ timer is going to be my best friend I have a feeling but I know what you mean. I hope I find time for everything.
Marsha
I finally got my book!!!! So I will be playing catch up this weekend!!! Your post was great today!! So many great ideas!!! I am really looking forward to guided reading this year. I have always had a love/hate relationship with this part of the day!! Thanks again…When do you start teaching guided reading?? I like to get my kiddos trained in centers first before I begin true guided reading. Just wondering when you start.
I don’t start guided reading until I know they are independent in my other Daily 5 stations. Just like you!
Marsha
Thanks for all the freebies! I am intersted in the letter tiles you mentioned at the beginning of this post. Is their enough in this set for a small group of 5-6 to work with? I need to get a set, but just want to make sure I have enough. Thanks!
It’s been awhile since I purchased them so I’m not quite sure how many are in each set but if you click on the picture, it will take you to the product link and description.
Marsha
This was great thank you. I just created a set of alphabet flash cards to go along with our new Fundations adoption. If anyone needs it please give me a shout I’d love to share.
Thanks again,
Vera
thetututeacher@gmail.com
The Tutu Teacher
I am really struggling with finding an alphabet chart and alphabet tracing book that matches our reading program, grrr! Why do they not exist?! If anyone has anything that matches the california treasures program, please let me know!
Gemma
mrsgfowler@gmail.com
I’ve been using this book for the last year and a half! It is amazing watching the students grow. Thanks for the freebie, it is too stinkin’ cute! Oh, and the nice refresher before school starts in a few short weeks!
Melissa
I love the paint sample idea!
Jennifer
First Grade Blue SKies
I can’t wit to get my copy of The Next Steps…from Amazon! I am going to bookmark these posts to look back at as I read it!
FANTASTIC post, Marsha!! 🙂
Mary
Mrs. Lirette’s Learning Detectives
What great information Marsha. I love your rhyming activities.
Mandy
A Special Kind of Class
I’ve been using this book for the past few years, and this is my FAVORITE chapter. I recommend getting Jan’s grade-specific DVD’s at http://www.janrichardsonguidedreading.com/dvd-orders for anyone struggling to see how they can get the pacing right for their small group lessons. They really do click right along and get a LOT in, and the video helps a teacher see how to do it without sacrificing any integrity (or kindness to the students!). I can vouch for how useful the letter-tracing books have been with my students who came in with lower-letter-naming knowledge, but it was important to really train my adults who sat with them on the procedure and my goals. I’d be nervous about using older students.
I love this linky — thank you so much!!!
Erin
Thanks for the tip about the videos. This looks great!
This was an amazing post, you have given me so many ideas to implement with my own students! Thank you for taking the time to share this with all of us, and I do believe I will be looking to purchase this book! 🙂
Thank you so much for your hard work on writing this post! It is a wonderful resource! I am excited to try out Jan Richardson’s style of guided reading this school year. And what a cute, cute idea to use paint sample cards to write CVC words!
You are amazing!
Cindy
Thank you so much for the freebies! These are the perfect levels for my students. Great ideas!!
Pam
http://mrspspecialties.blogspot.com/
Thank you so much for hosting and for all the great resources! This is what I joined the study for! Thank you, thank you, thank you!
Marsha, FYI…I added your blog button to my post about this chapter. Smiles, Jayne
Smart Kids
LOVED this post! Thanks for taking the time to do this.
Great post, Marsha. Thanks for summarizing and reviewing so nicely. This chapter alone is worth the price of the book! From the number of posts this time around, it’s a big hit! I’m really excited to try the routine for what we lovingly call at my school “the < As.” It’s a great RTI-like routine and it sounds like, from the data Richardson shares, it really works! While we don’t officially use Wilson FUNDATIONS in my current school, I have some of the materials still from my previous experience, and have always had great luck using their letter-keyword-sound routine. (a, apple, /a/; b, bat, /b/, c, cat, /c/, etc…) We chant this daily in the beginning of the year and it really seems to stick. I use their alphabet chart, alphabet frieze, and related materials, but had never thought to use copies of the letter cards with the keyword as the letter headers on my word wall. The student notebook will be great for the daily letter tracing work.
http://www.wilsonlanguage.com/store/level.aspx?id=3caef9a5-5d35-dc11-8cc8-0003ff30d5ff&l=faa7cc7b-5d35-dc11-8cc8-0003ff30d5ff
I’m getting excited to get back to school – and it’s too early for that! Can we slow down just a little bit?! Thank you for your thoughts, sharing and freebies!
Great post! I love all your ideas.Thanks for the freebies and sharing your thoughts. Can’t wait for the next chapter.
Great job with this chapter. Do you know when the next chapter will be studied? I can’t seem to find questions to think about before reading or the next host on the freebielicious blog.
This was a great post. I love this book because it is so full of practical suggestions. I’ve used the say and trace book procedure for the last two years and I have found it to be effective. One thing that I did is trace the letters in glue in a few books to add a tactile element for some of my learners who seem to need multiple inputs. It does make the book very bulky! I’ve also incorporated Richardson’s philosophy about writing sight words to learn them into my daily Guided Reading routine. Thanks for the freebies!
Donna W.
Great post and I am loving the book study. I had this book for over a year before I ever even read it. I love it! Thanks for the freebies!
Bea Samples
Oh I just love this!!! I have loaded up my wishlist with your items on TPT!! Thank you for all the freebies too!
Kim 🙂
I cannot print the Early Learners Alphabet chart as it tells me there are too many redirects to show the page. Any thoughts or help?
Error Message: “Too many redirects occurred trying to open. This might occur if you open a page that is redirected to open another page which then is redirected to open the original page.”
Nice topic-specific blog. Would love to read more stuff like this on the web. Thanks!
Shoutcast hosting
Thanks for this very nice discussion. When choosing a good hosting services for your business lots of things to consider and this blog very well explained it. Continue posting such great information about server hosting. stream host.
This is just amazing!!! I am so glad I came across this site. I am in my second year of teaching and I’m on kinder again. My main goal is to focus on improving my guided reading sessions. I love learning and implementing fresh new ideas. Thanks for posting!!! People like me benefit hugely from ideas such as these 🙂
Marsha, can you please tell me specifically which word family packets you referring to here:
“Clapping syllables-Use picture cards or just say the word. I actually use the picture cards from my word family packets”
I had a look at your store on ‘Teachers pay Teachers’ website and there are so many wonderful packets to choose from. I am not sure which one to pick.
Thanks,
Emma
Thank you so much for sharing this information and for your post! We are trying to implement Jan Richardson’s guided reading at our school so I was wondering what your daily schedule looks like and how you fit your groups in at the K level?
Thanks!
I want to make sure I understand you correctly. Are you asking is I have students in my kindergarten class reading at a level K? Most do not come reading at that level but I have had two or three in the past.
Marsha